We’ve been asked many times how to seam seal our tents, so here are our recommendations and the process we usually follow.
Our tents come with taped seams, meaning that they should be waterproof out of the box. Even so, seam sealing a tent is a good way to extend a tents lifespan and add extra protection. Additionally we recommend seam sealing if you plan on using the tent in rainy conditions or for an extended period of time, such a thru hiking.
Materials
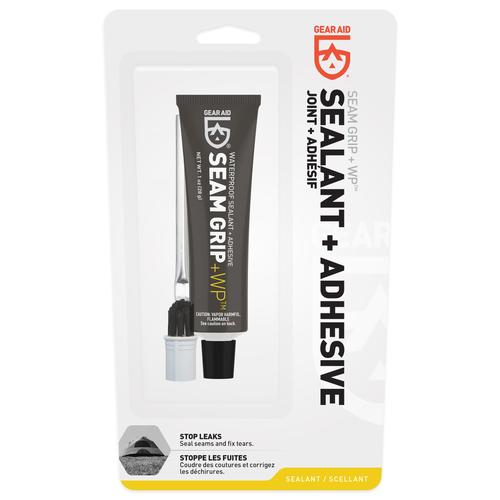
Generally for seam sealing we recommend using Gear Aid Seam Grip WP. It bonds almost permanently to our tent fabric and provides long lasting protection. Other seam sealers will work as well, just check that they are compatible with PU coated polyester.
Steps
- First make sure that the tent seams are clean and dry. A new unused tent is perfect.
- Set up the tent as you usually would. Try to get the ridgeline seam tight for easy sealing later.
- Apply seam sealer to all exposed outer seams of the tent. A thin unbroken layer over the threads should be enough.
- Apply seam sealer to the inside corner seams over and around the seam tape. The corner seams are hard to seal externally due to the stake out points.
- Let the sealant dry completely before taking down the tent.
- If you prefer a visual guide, check out this video from Luke at The Outdoor Gear Review.
Great article, thanks for sharing useful content. Regards, David the author of the blog: https://deteced.com/
There is a typo on this page, I believe you want to say “such as thru hiking.” Just thought you’d like to know. Will be purchasing a tent soon.
Jeremy worley-Wenatchee Washington.