We’ve asked our customers what they enjoy about the Trekker Tent 1V, and the top three things were the removable rainfly, the large vestibule, and the large amount of ventilation.
First, everyone enjoys the removable rainfly, because you have the option of sleeping under the stars on a warm summer night.
Second, they love the large vestibule for storing all of their gear and because it makes it easier to sit in the tent protected from the weather.
Third, it’s easy to enjoy the large amount of ventilation which helps reduce condensation.

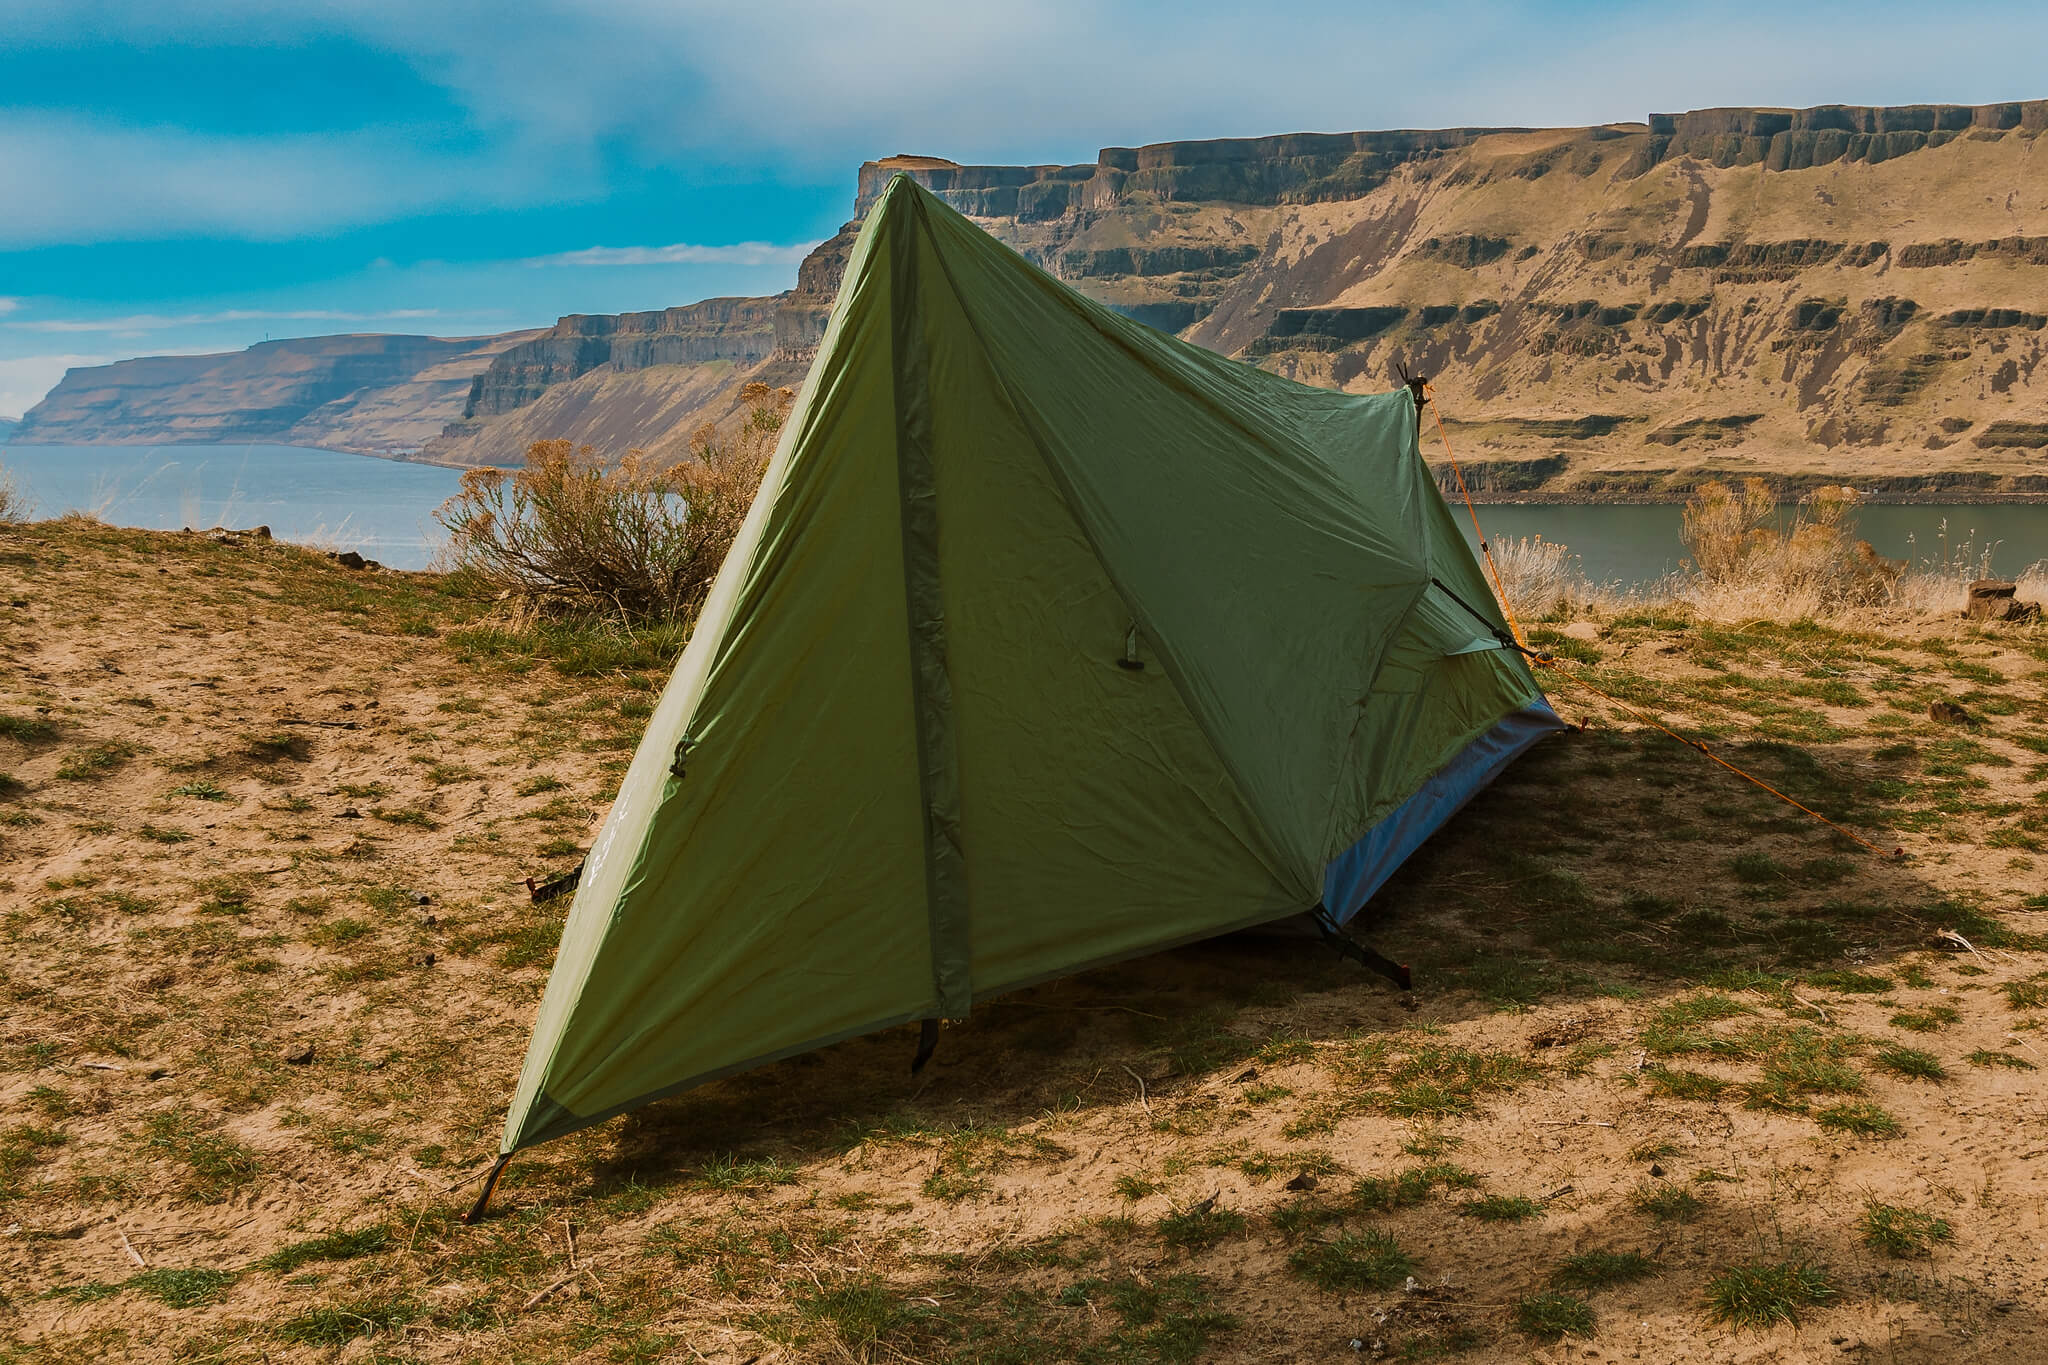
Original Trekker Tent 1V before adding a removable rainfly
Key Features
Some of the key features of the Trekker Tent 1V is that it is a trekking pole tent, so it doesn’t have a complicated pole system. Also, the tent weighs in at just 2 lbs 10 oz, which includes the 8 tent stakes and the carry bag. This, by industry standards, is an ultralight tent. It’s also small. When packed, this tent packs down to just 10 inches by 5 inches around.
The stakes come rolled up in the center of the tent and the guylines are already attached to the tent so it’s ready for a quick setup.
The interior of the tent is 7 feet long by 48” in the front and 32” in the back with a 42” peak height. There’s about 24 square feet of floor space, plus 5 square feet in the oversized vestibule.
All seams are taped and the fabric is waterproof PU coated polyester. The floor is made from a heavy duty waterproof oxford taffeta fabric, which is thick enough that you won’t need an additional ground cloth with this tent. Inside the tent, you’ll find a loop for hanging your gear or your flashlight and a personal items pocket, and plenty of room for both you and your gear.
Easy Setup
First, find a flat area, and lay your tent out in the direction you want it to face. Click on this link if you prefer to watch a video.
Like all trekking pole tents, you’ll next start by staking down the four corners of the tent first. Pull the tent tight as you stake it down. Pull the tent tight and make sure that the tent is not lopsided in one direction or another.
After you stake down the four corners, insert the trekking pole into the front grommet, tip facing up, handle facing down. Adjust the trekking pole to the desired height, and pull out the guyline and stake it out. Then tighten the guyline.
Do the same on the other side of the tent by adjusting the second trekking pole to the desired height, and pull out the guyline and stake it out. Then tighten the guyline.
Then, stake out the side guylines and you are ready to attach the rainfly. You may need to adjust the front stake position to get the rainfly vestibule tight. The front stake is intended to be used for both the front guyline and the rainfly vestibule. And that’s all there is to setting up the trekker tent 1V.
Tips and tricks
First, zip up all the doors. It’s easier to pull the tent and vestibule tight when the doors are zipped up. Then, insert the stakes at a 30 degree angle forming a 90-degree angle between the guyline and the tent stake. This will help hold the tent stake and the tent in place.
If setting up on sandy ground or on snow, you may need to purchase sand and snow stakes, which are made to hold in those settings. But, there are some tricks you can use like setting a rock or tree branch on top of the stake to hold the stake in the ground.
Also, setting a rock or stick on top of the stake gives you a visible marker, making it easier to avoid walking into the guylines. If there is a significant wind, it’s best to set the tent up so the front is facing the wind. Because of the shape of the rainfly, if the wind is strong and coming from the rear of the tent, you’ll notice the wind a lot more inside the tent. If the tent is sagging in the middle, it’s often because the trekking poles are overextended. Try lowering the trekking poles a little bit and tightening the rear and front guylines and the front vestibule. That should tighten up the ridgeline of the tent.
Be careful with the carbide tips on the trekking poles because they are very sharp and can rip the fabric on the tent. If you break or lose one of your trekking poles, this tent can be set up with a stick or the rear guyline can be tied to a tree.
This tent is easier to take down then to set up. Just remove all the stakes, put the guylines and the rainfly on top of the tent, and fold the tent on top of itself, into thirds, to a width just wider than the stake bag. Roll the tent around the stake bag, and if you can find it, use the tie that came with the tent to tie around the rolled up tent. After that, it should fit easily right back into the bag it came in.
That’s everything you need to know about the enjoyable Trekker Tent 1V, a lightweight, small-packed size tent perfect for your next outdoor adventure! If you’re having any problems with the setup of this tent, please don’t hesitate to contact us by email or through the Contact Us page. We’re always happy to help.