Posted on Leave a comment

Product Review: the airy Trekker Tent 2.2

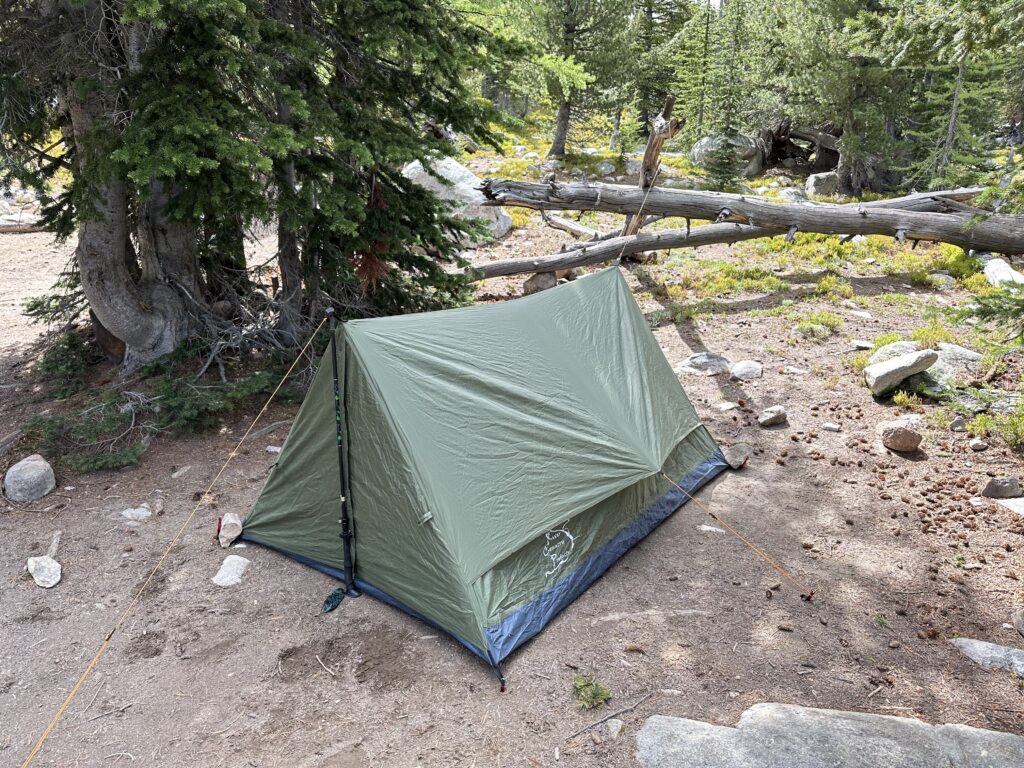
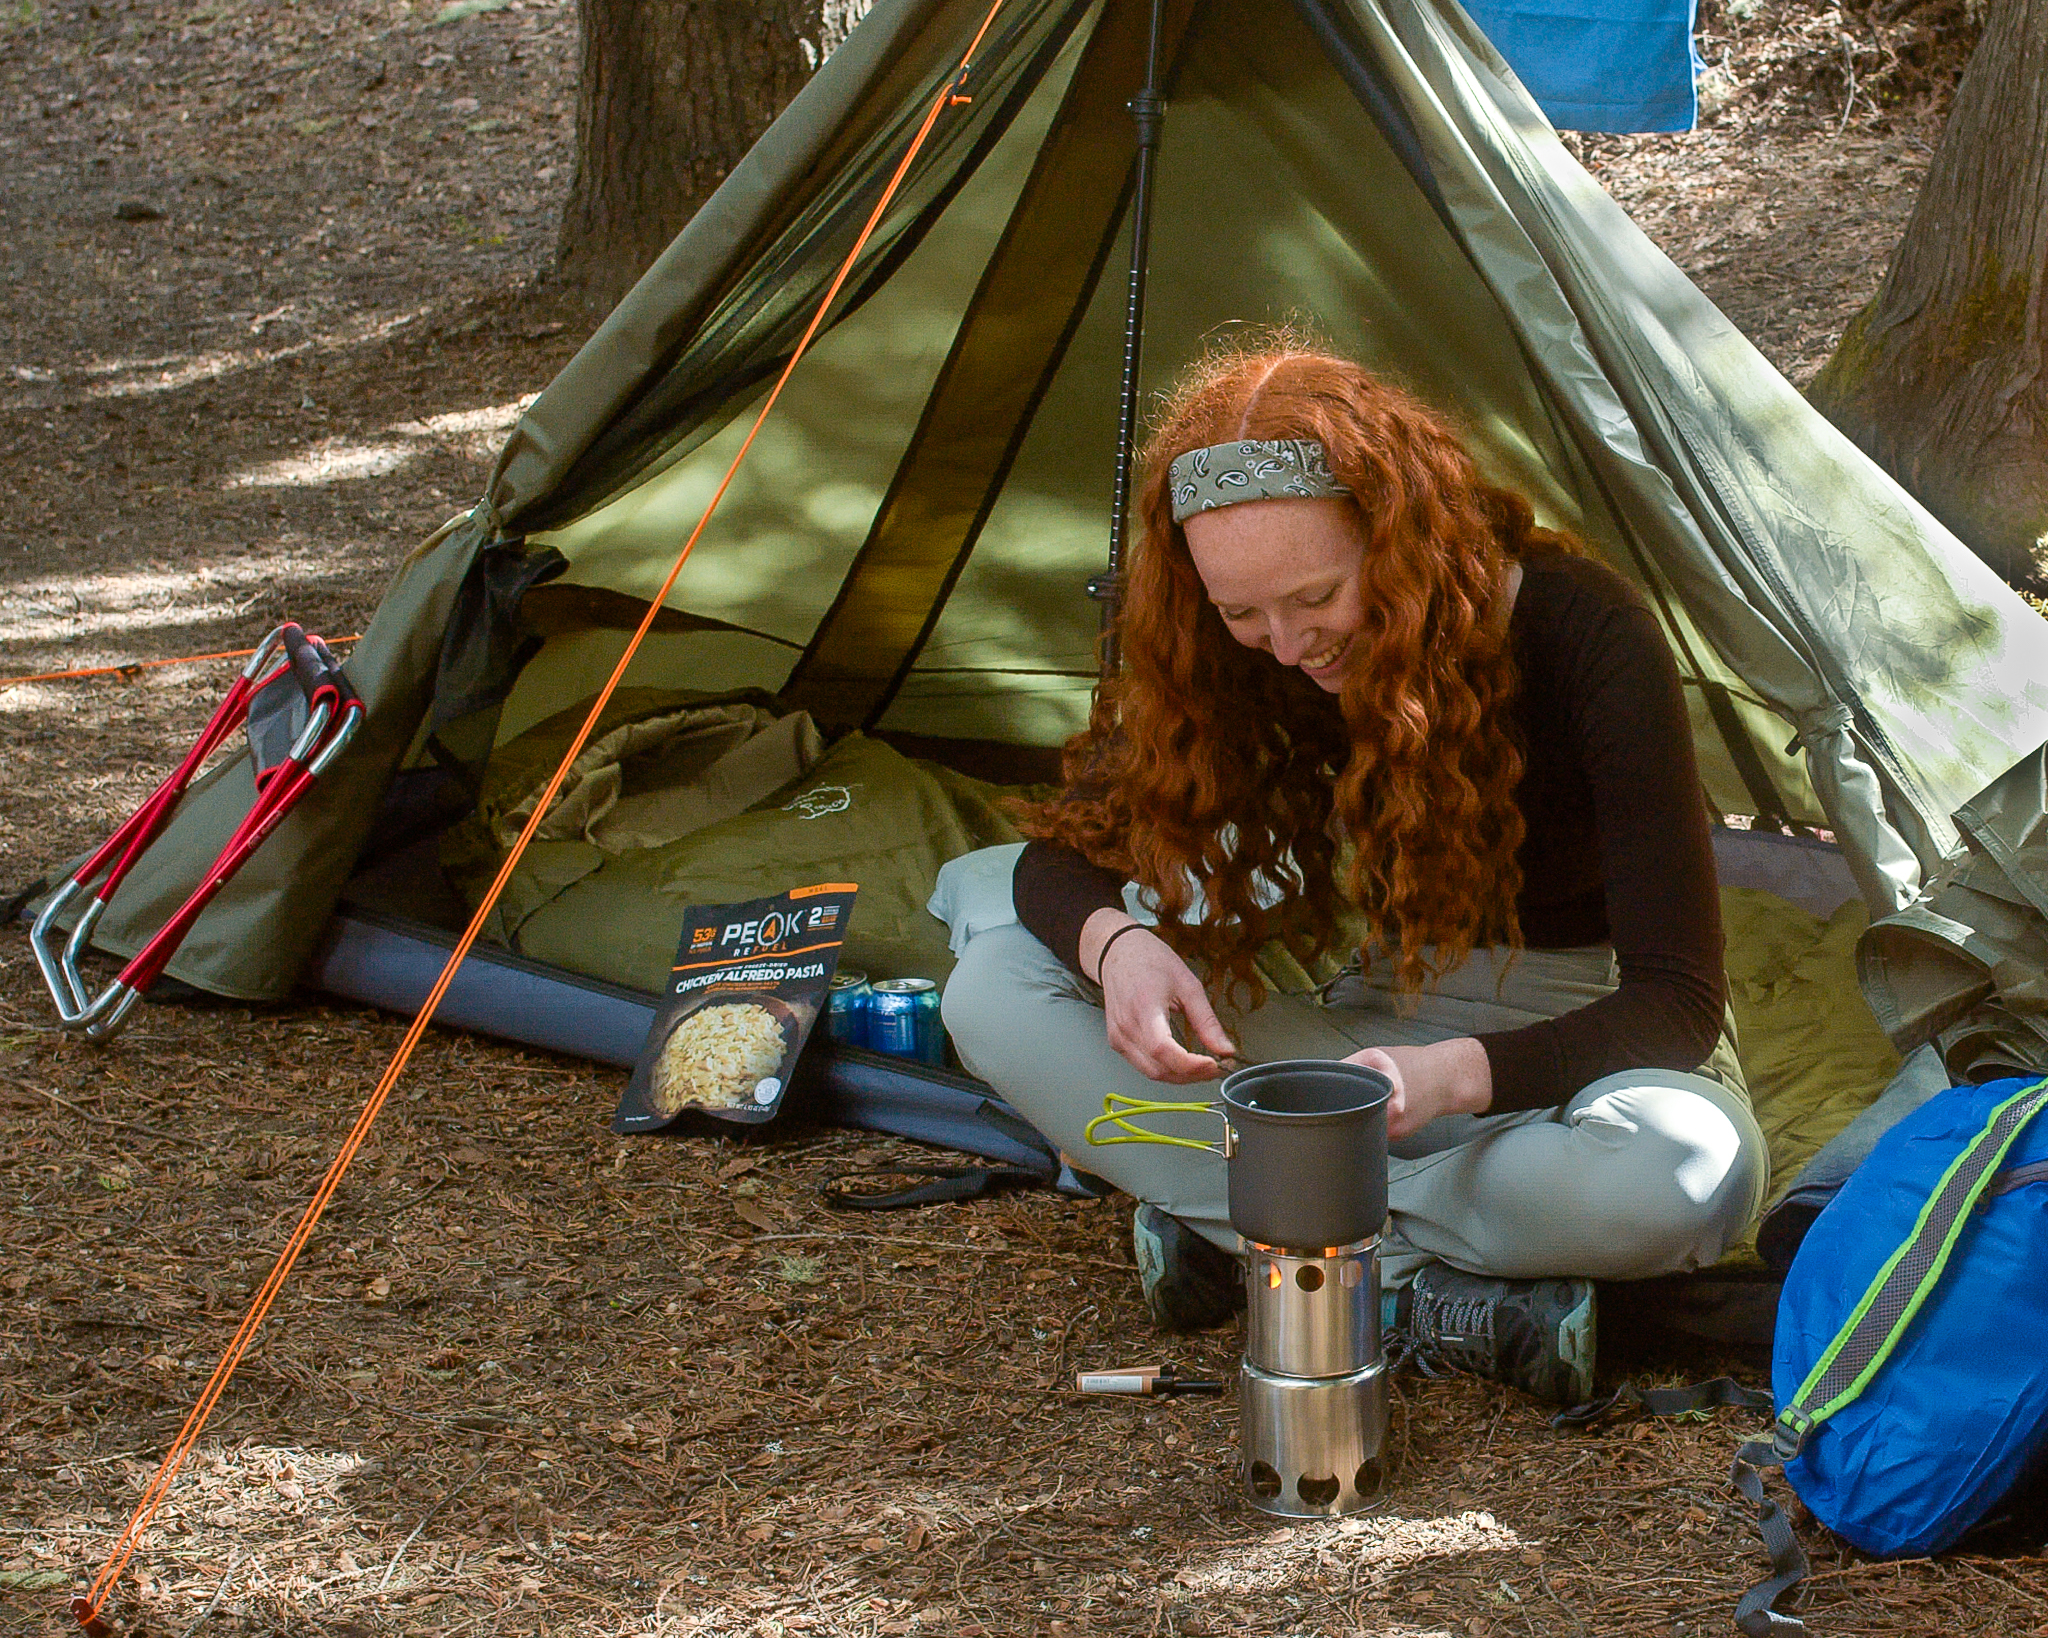
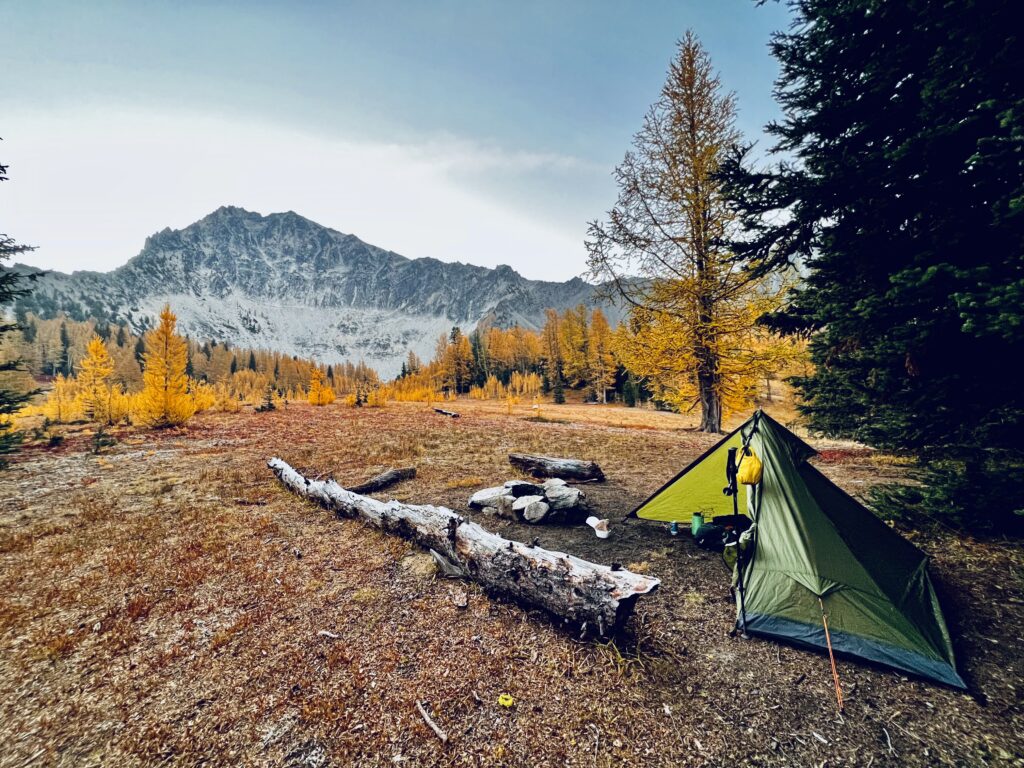
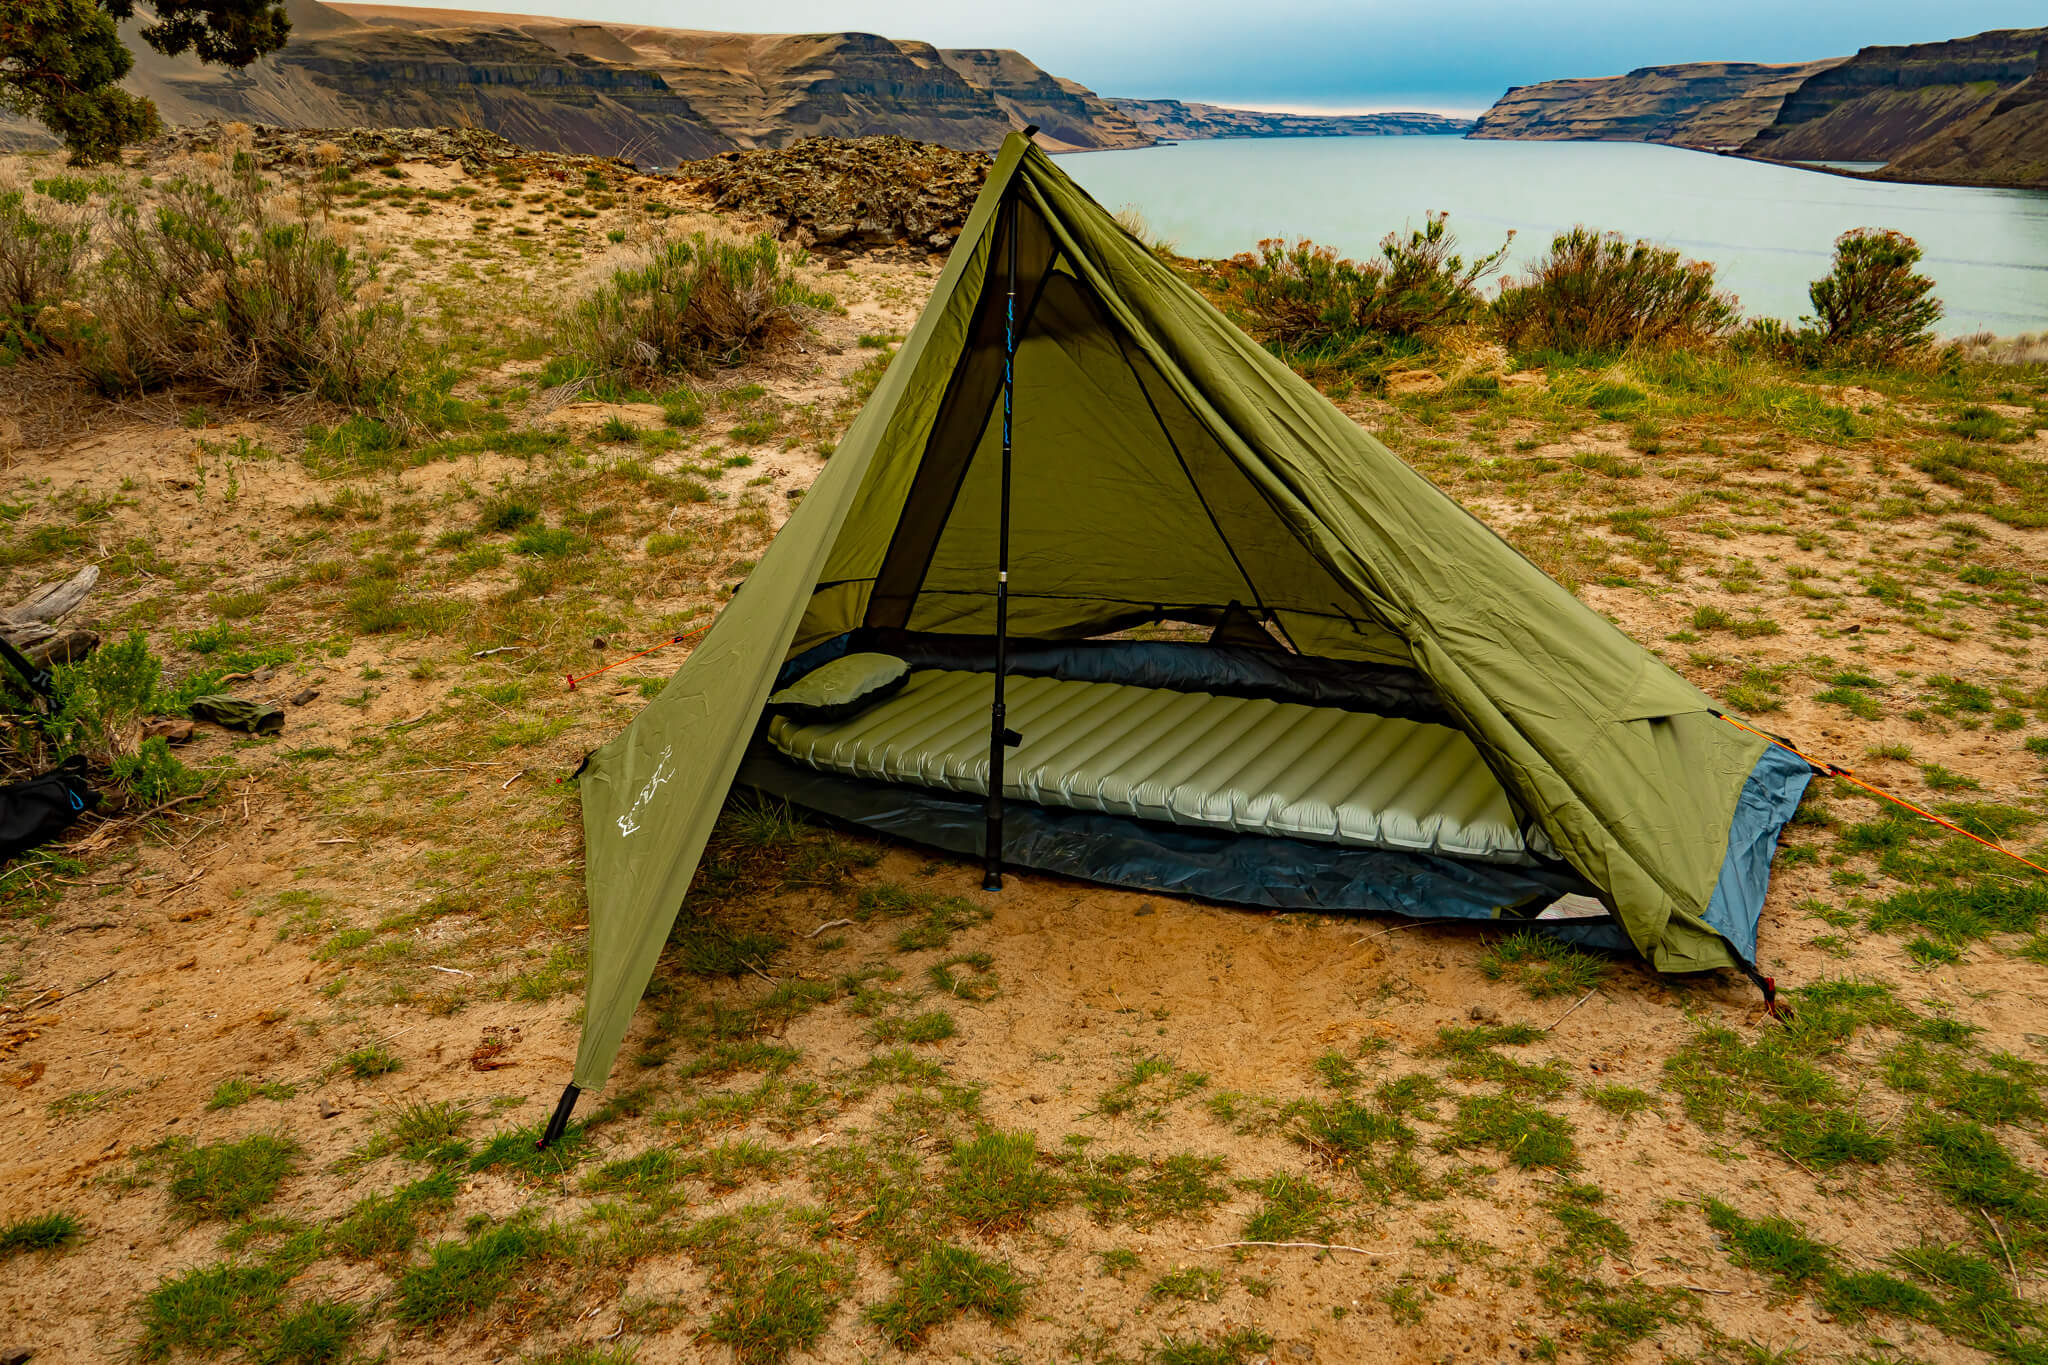
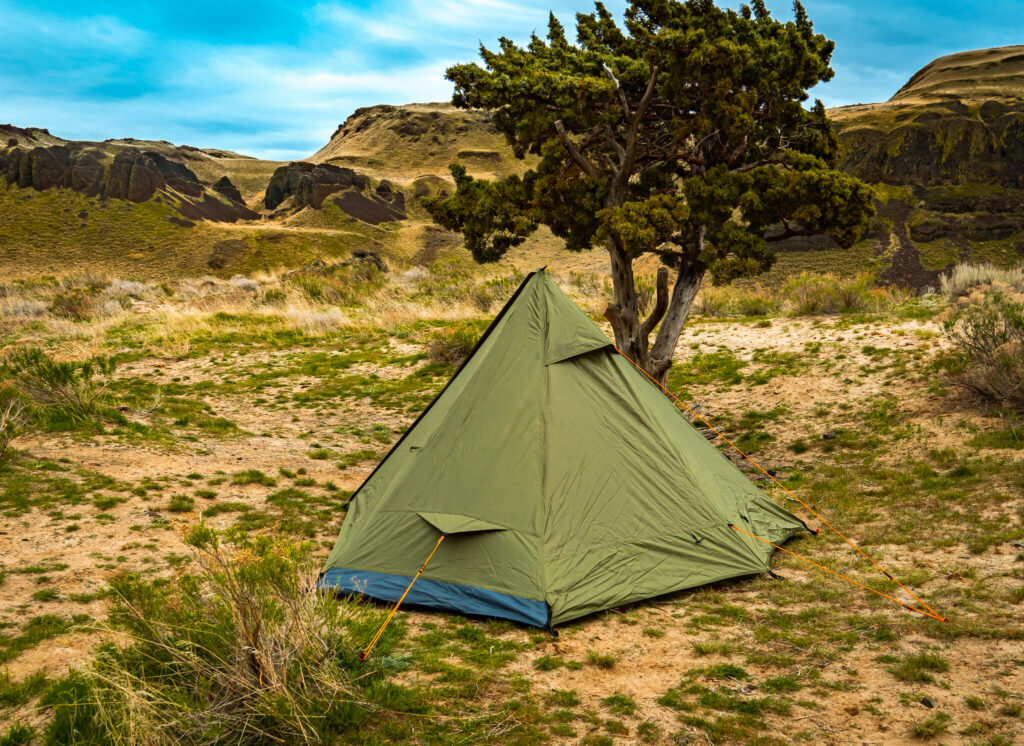
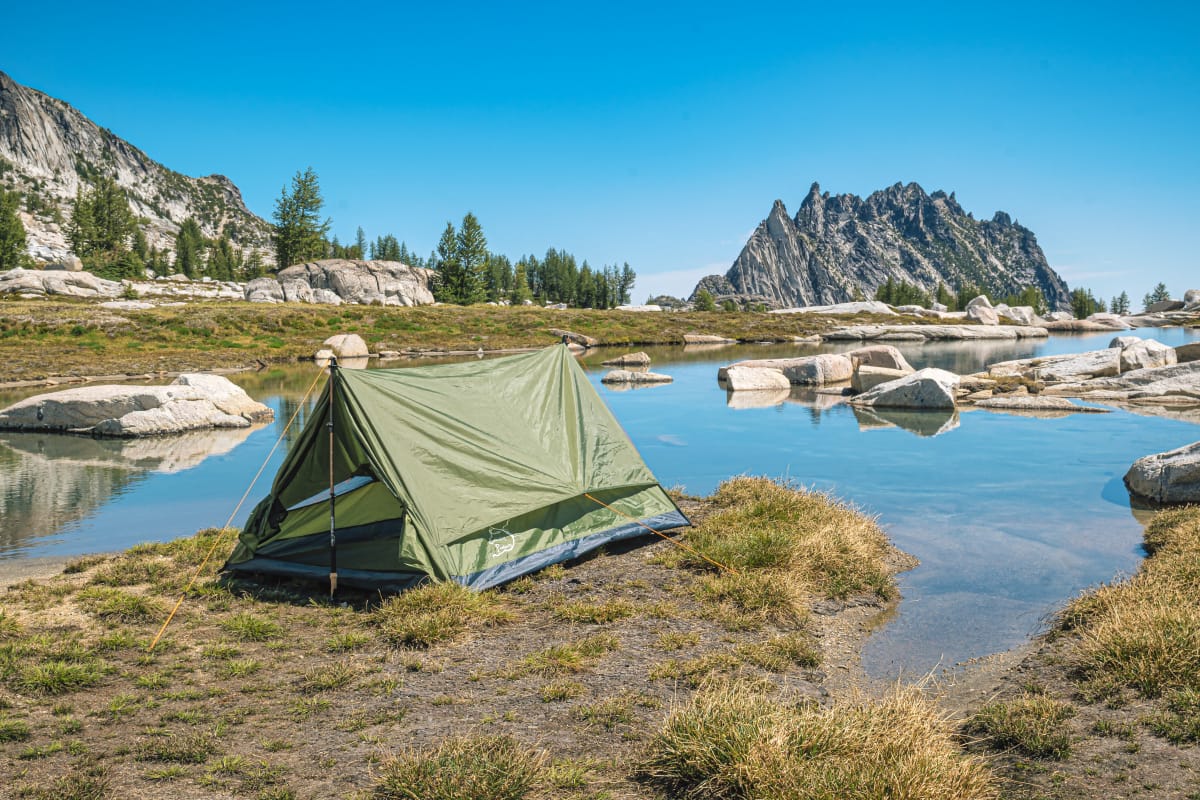
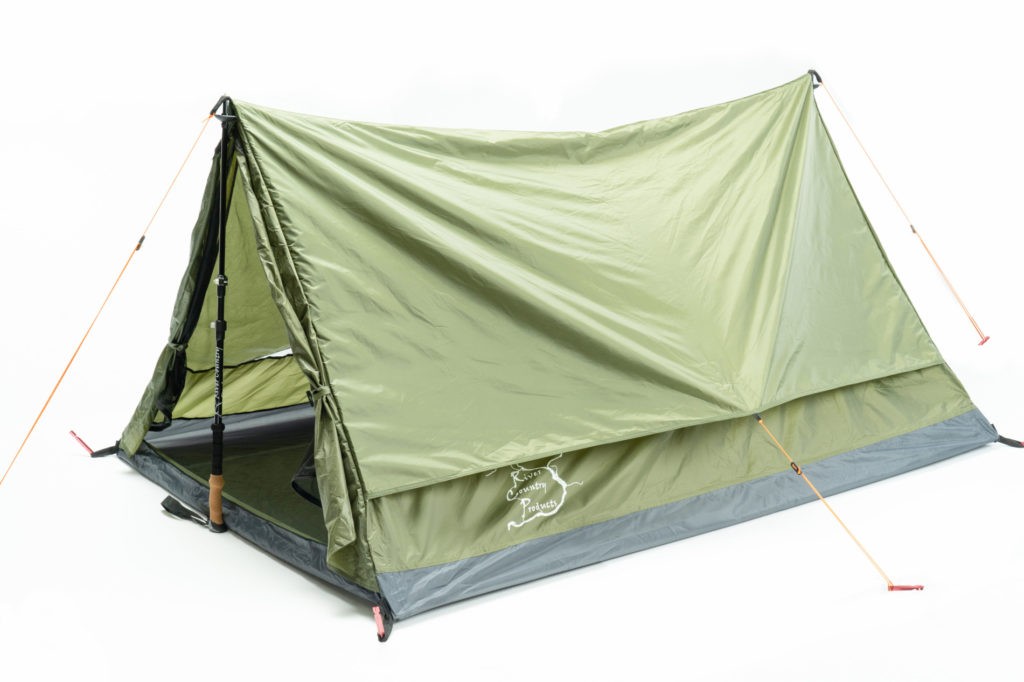
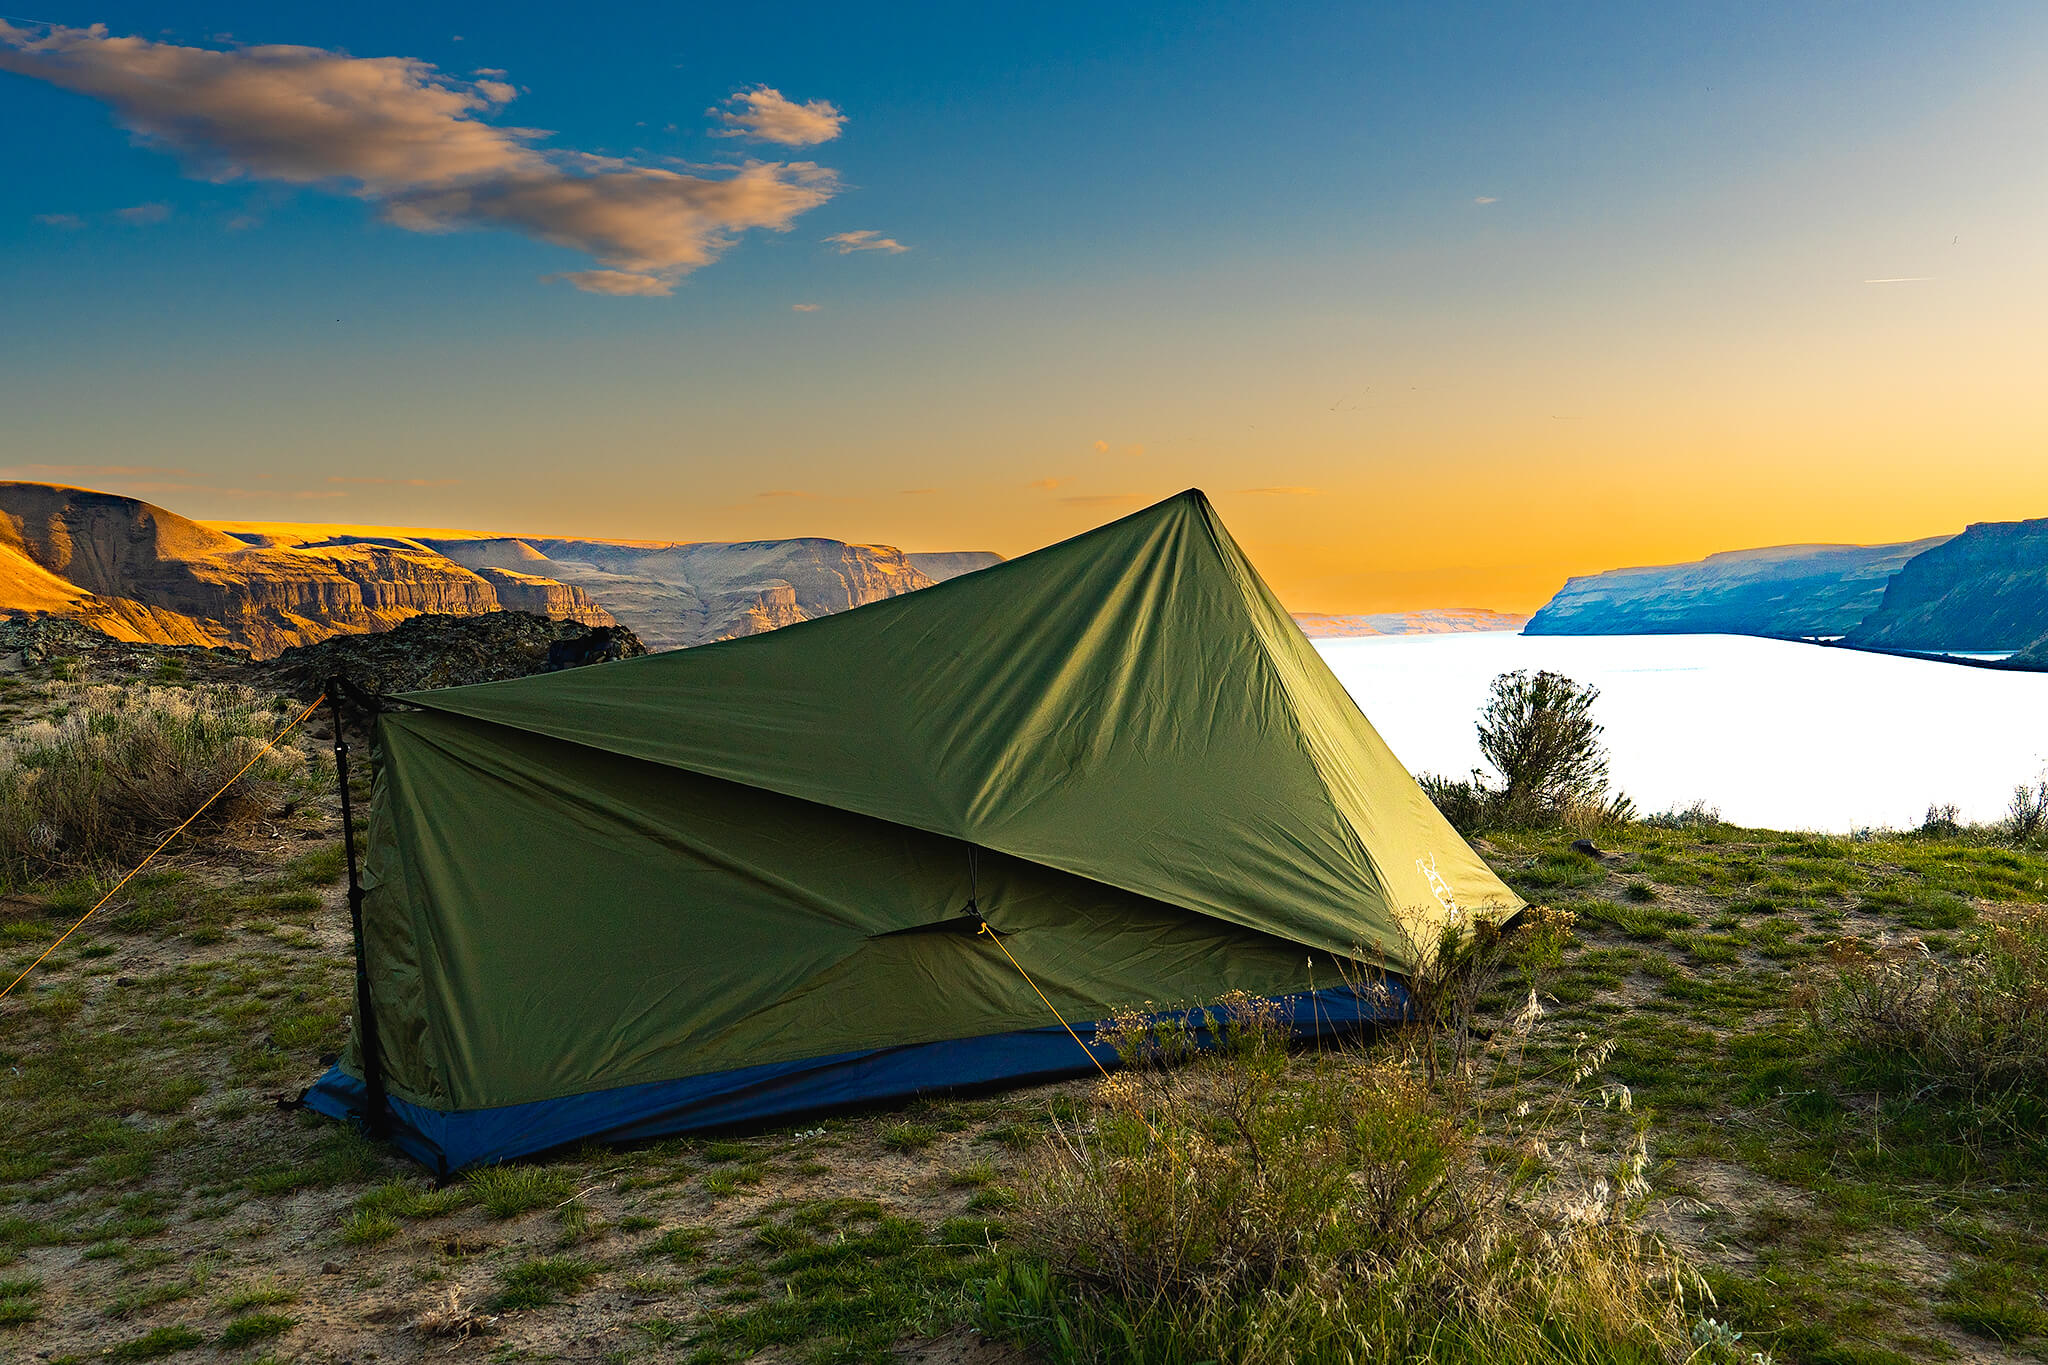
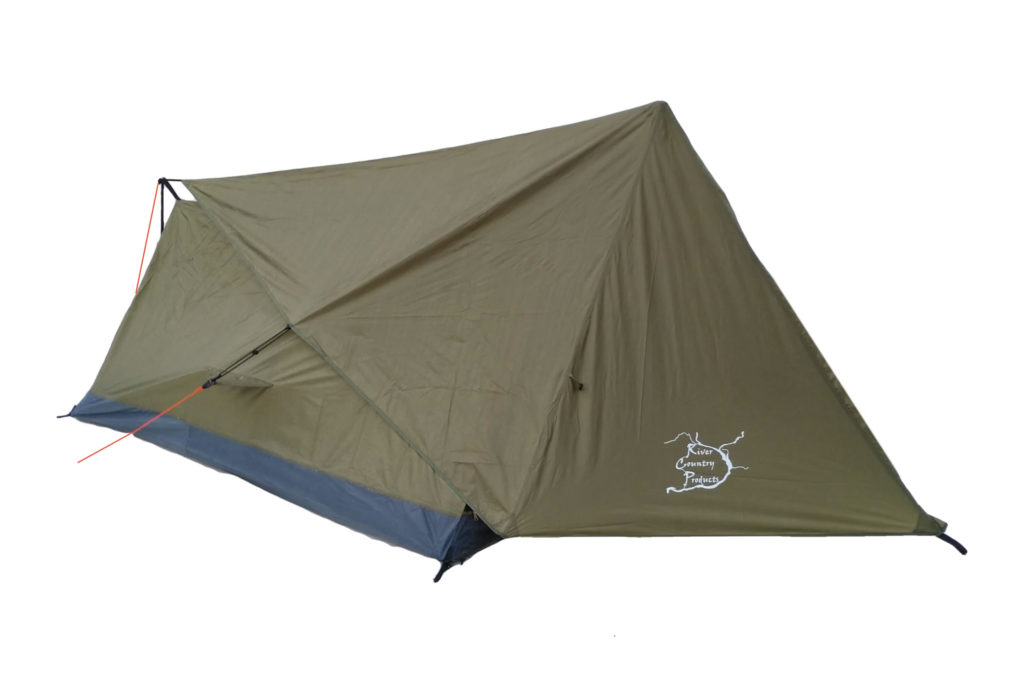
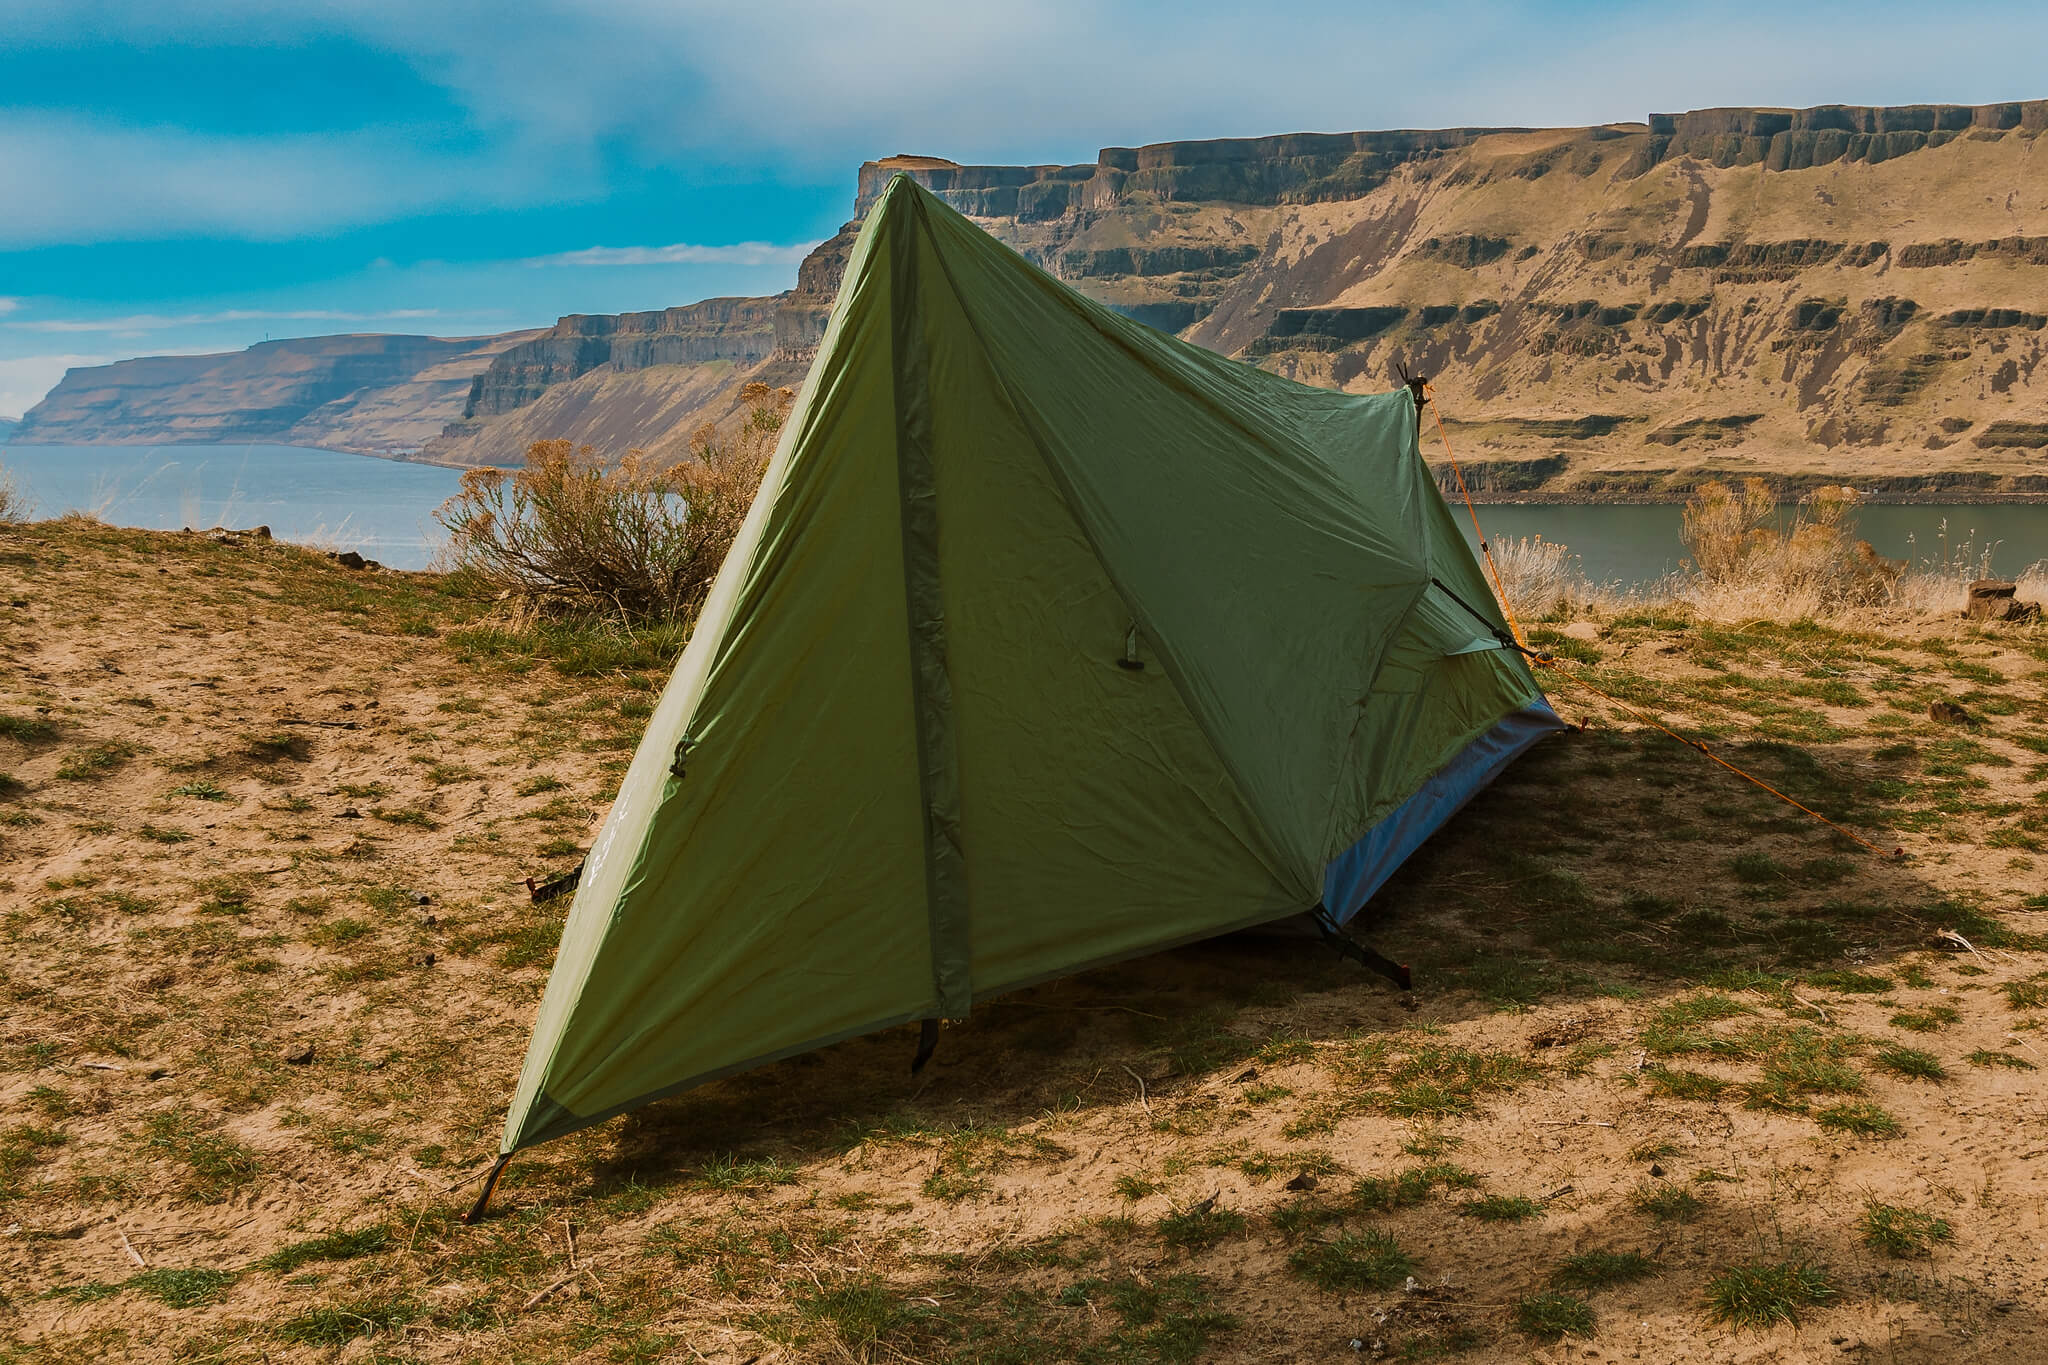
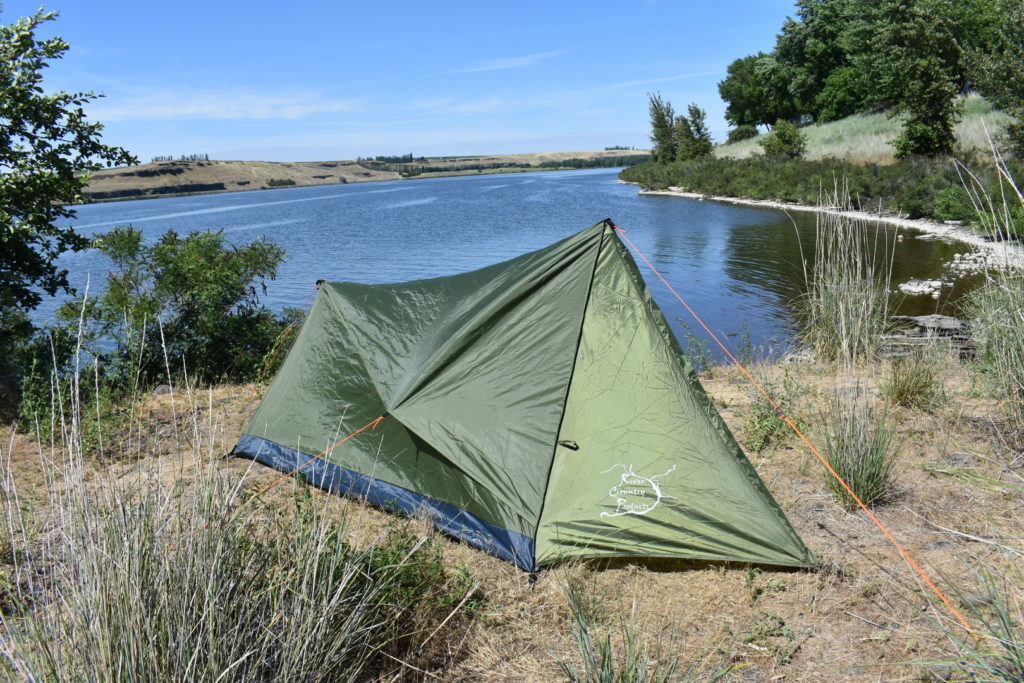
Trekker Tent 2.2

We’ve asked our customers what they like about the airy Trekker Tent 2.2, and their top two responses were first, how easy it is to set up, and second, how well ventilated it is.

First, it is one of the easiest tents you could ever set up. It can be set up in under two minutes and can be set up with or without trekking poles. For the hiker in a hurry, this is the perfect option. You can get your tent set up quickly and have more time for fishing, hunting, or just relaxing.

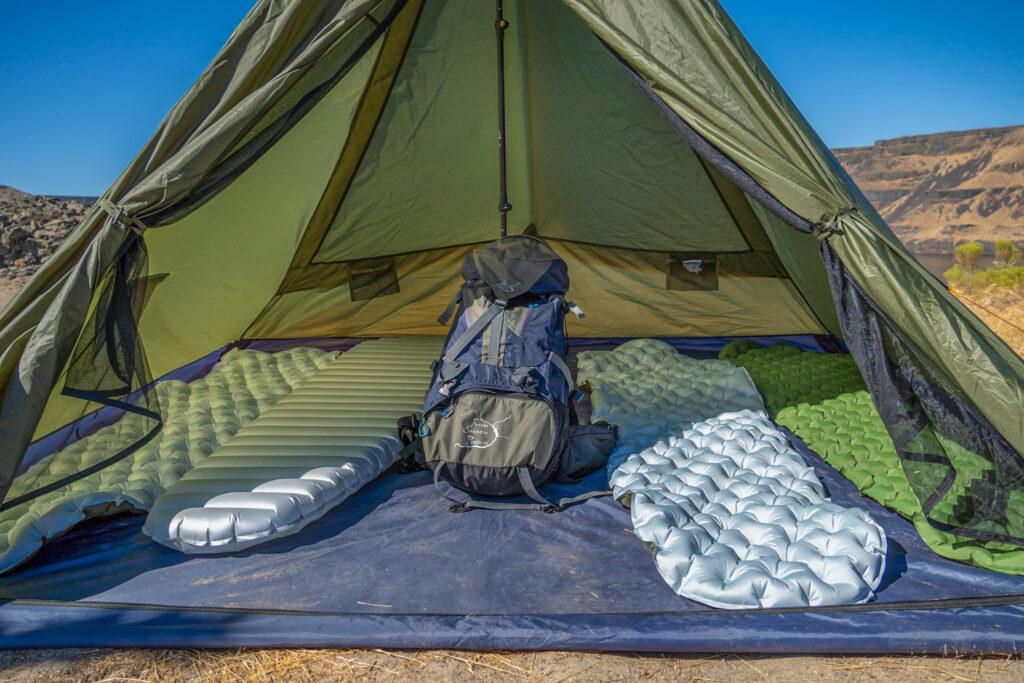
Second, the large mesh sidewalls increase the ventilation in the tent, making it more comfortable to sit in and also reducing condensation.

Trekker Tent 2.2

Key Features

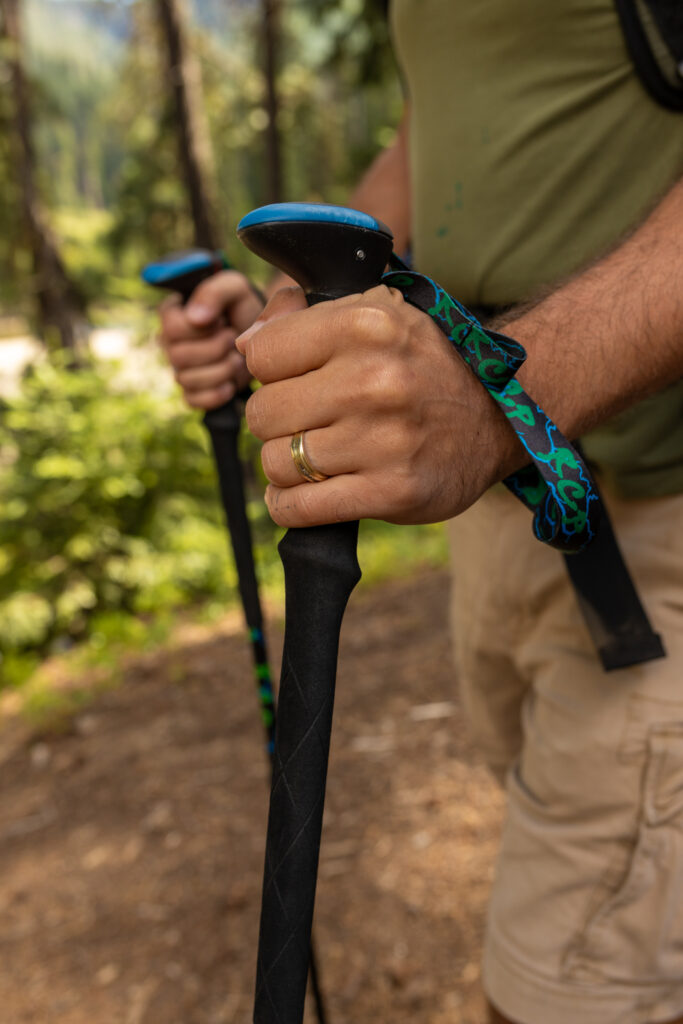
Some of the key features of the Trekker Tent 2.2 include the fact that it is a trekking pole tent, meaning that you may only need to check two poles (aka “hiking sticks”) before heading out for a camping trip.

However, even if you don’t have trekking poles, we like to say, “No poles, no problem!” Although it’s a trekking pole tent, we designed it so that it can easily be set up with two sticks off the ground, or you can tie it between two trees.

The tent weighs in at just 3 pounds, 2 ounces, which includes the eight tent stakes and the carry bag. By industry standards, this is a lightweight tent. It’s also pretty small. When it’s packed down, it’s just 10 inches by 6 inches around.

The stakes come rolled up in the center of the tent and the guy lines are already attached to the tent, so it’s ready for a quick setup.

The interior of the tent is 7 feet long by 5 feet wide and the front door has a 42-inch peak height.

All seams are taped and the fabric is waterproof PU-coated polyester. The floor is made of a heavy duty waterproof Oxford taffeta fabric, which is thick enough that you won’t need an additional ground cloth with this tent.

Inside the tent you’ll find a loop for hanging your gear or your flashlight and a personal items pocket and plenty of room for two people and their gear.

Easy Setup

The Trekker Tent 2.2 is our easiest tent to set up. First, find a flat area to lay your tent out in the direction that you want it to face. If you prefer to watch a video, just click on this link.

Like all of our trekking pole tents, start by sticking down the four corners of the tent. Pull the tent tight as you stake down the corners and make sure that the tent is not lopsided to one side or the other.

After you stake down the four corners, insert the front trekking pole tip facing up placing the carbide tip into the grommet with the handle down. Adjust the trekking pole height to the desired height and pull out the guy line and stake it down.

Do the same with the rear trekking pole. Now you can stake out the two side guy lines and that’s really all there is to setting up the Trekker Tent 2.2.

Tips and tricks

First, this tent can be set up easily without trekking poles. Just use two sticks off the ground. When using the stick method, just wrap the guy line around the stick once near the peak of the tent. Then stake the guy line to the ground, or you can tie the guy line to a branch or tree.

Second, all stakes should go in at a 30-degree angle toward the tent, forming a 90 degree angle with the guy line and the stake. This will help hold the stake in place.

If setting up on sandy ground, you may need snow or sand stakes which can be purchased separately. There are a few tips and tricks when setting up on softer ground, like putting a rock on top of the stake to hold it in place or a tree branch which can also mark where the guy lines are to make it easier to see and help avoid walking into the guidelines. If the tent is sagging in the middle, this is often because the trekking poles are overextended. Try lowering the trekking pole just a little and tightening the rear and front guy lines, and that should tighten the ridgeline of the tent.

This tent’s even easier to take down than to set up. All you have to do is pull out the stakes then put all the guy lines and all the upper tent material inside the tent and then fold the tent in on itself so that only the floor material is showing. Once you have it to about the size of the tent stake in width, roll the tent up around the tent stakes, and then tie it off and it should fit easily back into the bag that it came in.

And that’s all there is to know about the airy Trekker Tent 2.2, one of our most popular two-person trekking pole tents and our easiest tent to set up with its small pack size and the fact that it’s lightweight. This tent is perfect for your next outdoor adventure!

If you are having any problems with the setup of this tent, please don’t hesitate to contact us by email or through the Contact Us page. We’re always happy to help! If you have any tips, tricks, questions or feedback please comment below.

Posted on 1 Comment

Product Review: the roomy Trekker Tent 2V

river country products trekking pole tent twin sisters washington

We’ve asked our customers what they enjoy about the roomy Trekker Tent 2V, and, like the Trekker Tent 1V the top three things were the removable rainfly, the large vestibule, and the large amount of ventilation.

First, everyone enjoys the removable rainfly because you have the option of sleeping under the stars on a warm summer night or protecting yourself from the elements when it’s not warm and dry.

Second, they love the large vestibule for storing all of their gear and because it makes it easier to sit or lay in the tent protected from the weather.

Third, it’s easy to enjoy the large amount of ventilation which helps reduce condensation, especially in this roomy two-person tent.

Trekker Tent 2V

Key Features

Some of the key features of the Trekker Tent 2V is that it is a trekking pole tent, so it doesn’t have a complicated pole system. Also, the tent weighs in at just 3 lbs 6 oz, which includes the 8 tent stakes and the carry bag. This, by industry standards, is a lightweight tent. It’s also small. When packed, this tent packs down to just 10 inches long by 6 inches around.

The stakes come rolled up in the center of the tent and the guylines are already attached to the tent so it’s ready for a quick setup.

The interior of this roomy, two-person tent is 7 feet long by 6 feet in the front and 32” in the back with a 42” peak height. There’s about 34 square feet of floor space, plus 6 square feet in the oversized vestibule.

All seams are taped and the fabric is waterproof PU-coated polyester. The floor is made from a heavy-duty waterproof oxford taffeta fabric, which is thick enough that you won’t need an additional ground cloth with this tent. Inside the tent, you’ll find a loop for hanging your flashlight or other gear and a personal items pocket, and plenty of room for two people and your gear.

Easy Setup

First, find a flat area, and lay your tent out in the direction you want it to face. Click on this link if you prefer to watch a video.

Like all trekking pole tents, you’ll next start by staking down the four corners of the tent first. Pull the tent tight as you stake it down. Pull the tent tight and make sure that the tent is not lopsided in one direction or another.

After you stake down the four corners, insert the trekking pole into the front grommet, tip facing up, handle facing down. Adjust the trekking pole to the desired height and pull out the guyline and stake it down. Then tighten the guyline.

Do the same on the other side of the tent by adjusting the second trekking pole to the desired height, and pull out the guyline and stake it out. Then tighten the guyline.

Then, stake out the side guylines and you are ready to attach the rainfly. You may need to adjust the front stake position to get the rainfly vestibule tight. The front stake is intended to be used for both the front guyline and the rainfly vestibule. And that’s all there is to setting up the Trekker Tent 2V.

Tips and tricks

First, zip up all the doors. It’s easier to pull the tent and vestibule tight when the doors are secured. Then, insert the stakes at a 30-degree angle forming a 90-degree angle between the guyline and the tent stake. This will help hold the tent stake and the tent in place.

If setting up on sandy or snowy ground, you may need to purchase sand and snow stakes, which are made to hold in those settings. But there are some tricks you can use like setting a rock or tree branch on top of the stake to hold the stake in the ground.

Also, setting a rock or stick on top of the stake gives you a visible marker, making it easier to avoid walking into the guylines. If there is a significant wind, it’s best to set the tent up so the front is facing the wind. Because of the shape of the rainfly, if the wind is strong and coming from the rear of the tent, you’ll notice the wind a lot more inside the tent. If the tent is sagging in the middle, it’s often because the trekking poles are overextended. Try lowering the trekking poles a little bit and tightening the rear and front guylines and the front vestibule. That should tighten up the ridgeline of the tent.

Be careful with the carbide tips on the trekking poles because they are sharp and can rip the fabric on the tent. If you break or lose one of your trekking poles, this tent can easily be set up with a stick or the rear guyline can be tied to a tree.

This tent is even easier to take down then to set up. Just remove all the stakes, put the guylines and the rainfly on top of the tent, and fold the tent on top of itself, into thirds, to a width just wider than the stake bag. Roll the tent around the stake bag, and if you can find it, use the tie that came with the tent to tie around the rolled-up tent. After that, it should fit easily right back into the bag it came in.

That’s everything you need to know about the enjoyable Trekker Tent 2V, a lightweight, small-packed size two-person tent perfect for your next outdoor adventure! If you’re having any problems with the setup of this tent, please don’t hesitate to contact us by email or through the Contact Us page. We’re always happy to help.

Posted on Leave a comment

Product Review: the enjoyable Trekker Tent 1V

river country products trekking pole tent twin sisters washington

We’ve asked our customers what they enjoy about the Trekker Tent 1V, and the top three things were the removable rainfly, the large vestibule, and the large amount of ventilation.

First, everyone enjoys the removable rainfly, because you have the option of sleeping under the stars on a warm summer night.

Second, they love the large vestibule for storing all of their gear and because it makes it easier to sit in the tent protected from the weather.

Third, it’s easy to enjoy the large amount of ventilation which helps reduce condensation.

Trekker Tent 1v - one man backpacking tent

Original Trekker Tent 1V before adding a removable rainfly

Key Features

Some of the key features of the Trekker Tent 1V is that it is a trekking pole tent, so it doesn’t have a complicated pole system. Also, the tent weighs in at just 2 lbs 10 oz, which includes the 8 tent stakes and the carry bag. This, by industry standards, is an ultralight tent. It’s also small. When packed, this tent packs down to just 10 inches by 5 inches around.

The stakes come rolled up in the center of the tent and the guylines are already attached to the tent so it’s ready for a quick setup.

The interior of the tent is 7 feet long by 48” in the front and 32” in the back with a 42” peak height. There’s about 24 square feet of floor space, plus 5 square feet in the oversized vestibule.

All seams are taped and the fabric is waterproof PU coated polyester. The floor is made from a heavy duty waterproof oxford taffeta fabric, which is thick enough that you won’t need an additional ground cloth with this tent. Inside the tent, you’ll find a loop for hanging your gear or your flashlight and a personal items pocket, and plenty of room for both you and your gear.

Easy Setup

First, find a flat area, and lay your tent out in the direction you want it to face. Click on this link if you prefer to watch a video.

Like all trekking pole tents, you’ll next start by staking down the four corners of the tent first. Pull the tent tight as you stake it down. Pull the tent tight and make sure that the tent is not lopsided in one direction or another.

After you stake down the four corners, insert the trekking pole into the front grommet, tip facing up, handle facing down. Adjust the trekking pole to the desired height, and pull out the guyline and stake it out. Then tighten the guyline.

Do the same on the other side of the tent by adjusting the second trekking pole to the desired height, and pull out the guyline and stake it out. Then tighten the guyline.

Then, stake out the side guylines and you are ready to attach the rainfly. You may need to adjust the front stake position to get the rainfly vestibule tight. The front stake is intended to be used for both the front guyline and the rainfly vestibule. And that’s all there is to setting up the trekker tent 1V.

Tips and tricks

First, zip up all the doors. It’s easier to pull the tent and vestibule tight when the doors are zipped up. Then, insert the stakes at a 30 degree angle forming a 90-degree angle between the guyline and the tent stake. This will help hold the tent stake and the tent in place.

If setting up on sandy ground or on snow, you may need to purchase sand and snow stakes, which are made to hold in those settings. But, there are some tricks you can use like setting a rock or tree branch on top of the stake to hold the stake in the ground.

Also, setting a rock or stick on top of the stake gives you a visible marker, making it easier to avoid walking into the guylines. If there is a significant wind, it’s best to set the tent up so the front is facing the wind. Because of the shape of the rainfly, if the wind is strong and coming from the rear of the tent, you’ll notice the wind a lot more inside the tent. If the tent is sagging in the middle, it’s often because the trekking poles are overextended. Try lowering the trekking poles a little bit and tightening the rear and front guylines and the front vestibule. That should tighten up the ridgeline of the tent.

Be careful with the carbide tips on the trekking poles because they are very sharp and can rip the fabric on the tent. If you break or lose one of your trekking poles, this tent can be set up with a stick or the rear guyline can be tied to a tree.

This tent is easier to take down then to set up. Just remove all the stakes, put the guylines and the rainfly on top of the tent, and fold the tent on top of itself, into thirds, to a width just wider than the stake bag. Roll the tent around the stake bag, and if you can find it, use the tie that came with the tent to tie around the rolled up tent. After that, it should fit easily right back into the bag it came in.

That’s everything you need to know about the enjoyable Trekker Tent 1V, a lightweight, small-packed size tent perfect for your next outdoor adventure! If you’re having any problems with the setup of this tent, please don’t hesitate to contact us by email or through the Contact Us page. We’re always happy to help.

Posted on 2 Comments

How to camp in a tropical paradise

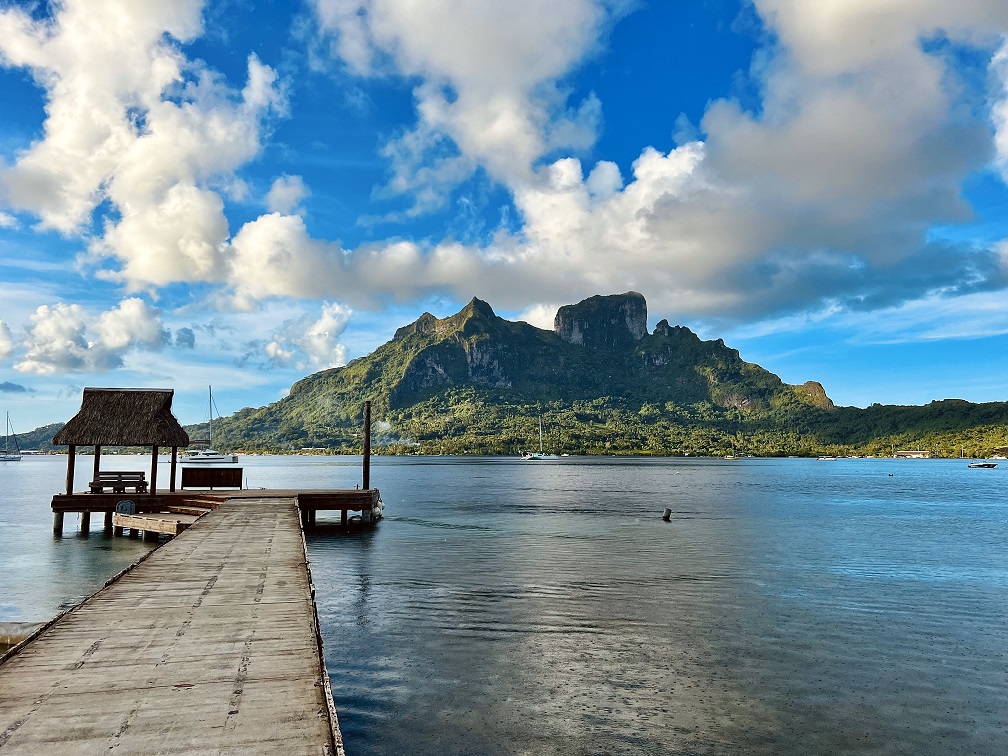
Bora Bora, view from Bloody Mary's

If you’re like me, your experience with camping has been mainly in the mountains and not in a tropical paradise. In fact, before reading this post, it’s possible that you never considered the possibility of camping on the beach in Bora Bora. Well, now you have.

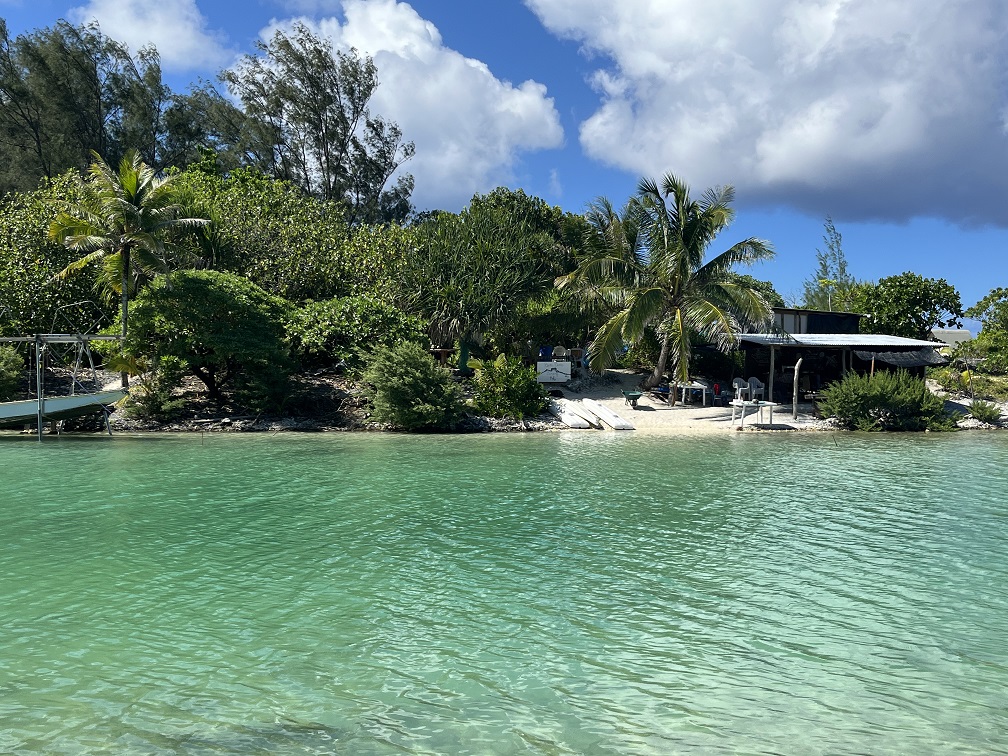
In fact, there is only one campground in Bora Bora, the third-most visited island in French Polynesia. This campground is on a sandbar called a “motu”.

Bora Bora camping on a motu

At first impression, camping in Bora Bora sounds amazing. Access to the warm weather, the shallow bay, the scenic beauty, the biodiversity of plant and animal life, and the cultural experience are all incredible. But there are two major downsides: warm night-time temperatures and lots of mosquitoes and no-see-ums.

Sleep tight

The reality is that it is difficult for most people to have a good night’s sleep while camping. That is, unless you are backpacking for a large portion of the day and are exhausted when night comes. Unless you are a thru-hiker, the sleeping bag, bed and pillow are not part of your usual nighttime routine, and good sleep can be hard to come by. Add in temperatures above 75 degrees Farenheit (24 degrees Celsius), and a good sleep can be nearly impossible.

That said, there are a few solutions: you can use a portable, rechargeable fan to keep the air moving while you sleep; you can do some heat acclimation prior to such a trip; and you can take advantage of daytime siestas.

Using a rechargeable fan is the easiest way to keep your body cool while camping in tropical climates. Just getting the air moving will help your body release any extra heat. Wade and Dani have a list of fan options, including one with “Bora” in the name!

Heat acclimation is the process of using either warm days or time in the sauna to adapt to warm temperatures. Within weeks, you can stimulate capillary and nerve growth that are crucial for body cooling. Check out this detailed brochure by the Army Rangers for more specific information.

Lastly, daytime siestas are time-honored traditions in all tropical and subtropical climates. It has been shown that siestas are actually slightly longer in the summer in tropical climates, even though the temperatures hardly increase from the tropical winter.

Don’t let the bugs bite

Being prepared for biting bugs is a huge part of tropical comfort. You know how to prepare for this with your favorite repellent, but just in case you need ideas, here are some more options. But you may not know that another great option is a mosquito-repellent coil infused with citronella. They are the perfect, long-lasting option in the tropics that will keep bugs away for hours and are easy to pack with your luggage.

There you have it! Whether you are planning on going to Bora Bora, or the Dominican Republic, or Thailand, you now have a few tools to have a great sleep beneath the stars in a hammock or underneath the netting of a Trekker Pyramid. Let us know in the comments below if you have braved the tropics with a pack and a tent and, if so, where.

Posted on Leave a comment

Hiking in California’s volatile weather

Muir Beach

Let’s be clear about this: the hiking weather in California is not only volatile right now, it’s absolutely bonkers. For those of you who may be missing it, California is currently going through a series of “atmospheric rivers” that are dumping feet of rain and snow all over the state. There have been mixed responses to these weather events. On the one hand, people are glad that their historic drought might be ending. On the other hand, there is so much moisture across the state that roads are being washed out and travel is becoming difficult.

So, the question on everyone’s minds is how is this going to impact spring and summer outdoor activities, including hiking? I see three issues: one, the weather seems to be harder to predict; two, a lot of trails need extra maintenance; and three, this much moisture leads to taller vegetation and more critters. Three solutions to these issues are: one, expect the unexpected; two, pitch in where you can; and three, know your flora and fauna.

Expect the unexpected

Muir Beach Road

Traveling through the Golden Gate National Recreation Area last week, there were areas that had been closed by the Park Service and roads that were impassable. The road to Muir Beach (above) was covered in a foot of water more than a day after one of the storms had passed. I can’t even imagine how much snow is covering California’s high points. The morning of my hike, the weather forecast called for clear skies. 4 hours later, I was hiking through pouring rain.

Sure, you could say that these things are to be expected during large, ongoing weather patterns. And you’re probably right. But for every single thing you are able to anticipate, there may be two more things that you have not anticipated. In this case, don’t be surprised by lack of access to services, or by the need to turn around. You would do well to bring a water purifier with you as well as cold weather or rainy weather gear on any outing lasting longer than a couple of hours. And check park websites for closures.

Pitch in where you can

Many of the state and national parks welcome volunteers and have forms online for you to fill out for a day or more of service. But, that doesn’t stop you from clearing small items from the trail as you go and being prepared with a small shovel or saw in the event that a mudslide or fallen tree has blocked your path. Additionally, you can report fallen trees and other obstacles to the local ranger station.

Hiking and camping “without a trace” has long been the standard of good outdoorsmanship. However, in times like these, we should each set out to make the trail and the campground better than it was when we arrived.

Know your flora and fauna

The Golden Gate National Recreation Area is covered in poison oak, and all of this rain is just going to help it grow and creep into the trail. Luckily, the Park Conservancy has a guide for helping you avoid this itchy plant. Whether you’re hiking in the San Francisco area or elsewhere, please be aware of the plant and animal life of the area and how they may affect you.

Taller and bigger plants inevitably leads to healthier and more abundant animal life. And the more animals there are, the better the odds that you will ending up crossing paths with one of them. Whether they are bobcats, badgers, or mountain lions, you should be aware of the possibility that with increased numbers they are expanding their territory.

Volatile weather or not, this year can be a great year for hiking and camping if you are prepared. Let us know in the comments below what your favorite tips are for expecting the unexpected!

Posted on 2 Comments

Hiking the highest point in your state

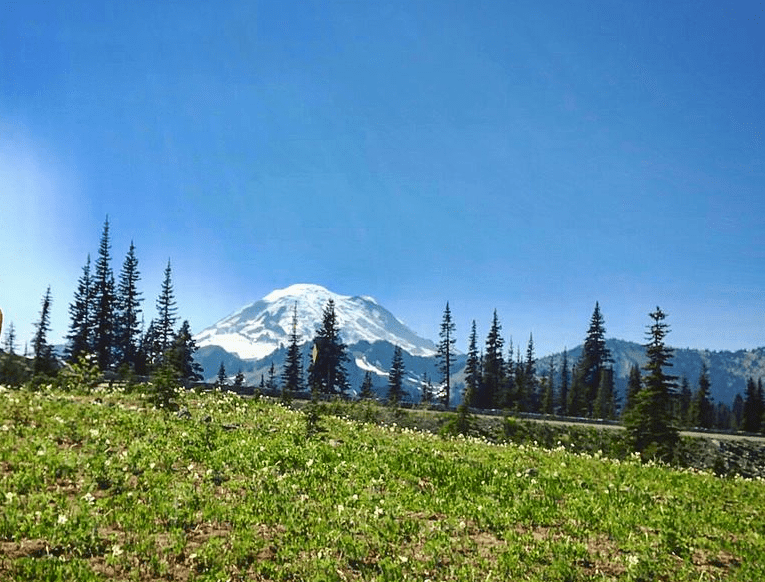
Rainier Tipsoo

Hiking the highest point in your state is not for everyone. In fact, some people say that it takes the fun out of hiking. To be fair, hiking the highest points in certain states is not the easiest of tasks, especially if you live in Alaska. But, the fact that it can take some planning and can even take a little bit of the fun out of hiking doesn’t mean it shouldn’t be done.

Granted, for those of us that live in the West, that can be pretty tough. Here at River Country Products, the highest point in Washington is Mt. Rainier. At 14,411 feet, it is one of the most famous mountains in the United States. Sure, there are a lot of Colorado peaks that rival Mt. Rainier in total elevation, but none of them are close to it in prominence.

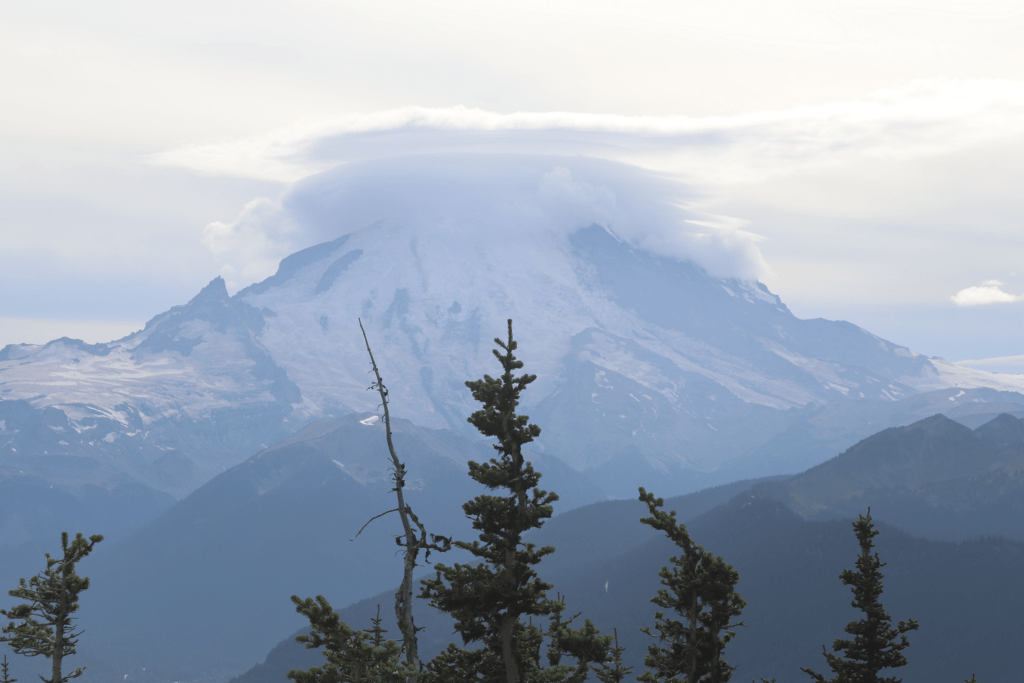
Mt. Rainier

If you’re thinking of hiking the highest point in your state, and you live in the West, here are some tips for making the most out of your climb.

Fitness

First, take your physical fitness seriously. Climbing giant volcanoes and other similar large peaks requires a high level of physical fitness. You should exercise regularly prior to the ascent, including cardio, strength training, and endurance activities. You may also want to consider working with a personal trainer who can develop a program tailored to your specific needs.

Acclimatization

Second, be aware that altitude sickness can be a serious concern when climbing any peak over 8,000 feet, so it is important to allow sufficient time for acclimatization. Consider spending several days at altitude during the weeks and days before attempting to summit and be prepared to adjust your itinerary based on your body’s response to altitude.

Gear

Third, proper gear is essential for a successful climb of major peak. This includes appropriate clothing for the cold and potentially wet conditions. It also may include a high-quality backpack, boots with crampons, an ice axe, rope, helmet, and other climbing gear. It is important to choose gear that is both comfortable and durable, and to test all gear before the climb.

Skill

Fourth, you should have experience with basic mountaineering skills. This includes roped travel, self-arrest techniques, and ice axe use in snowy conditions. Consider taking a mountaineering course or hiring a guide to teach you these skills and summit with you. (As a side note, around two people per year die on Mt. Rainier, but last time I checked none of them have been part of a licensed, guided group.)

Permitting

Fifth, some of the highest points require a permit, which are usually obtained through the National Park Service. Sometimes this is a lottery process that happens months or even a year in advance of the hike, so check the requirements. You should also be familiar with the regulations and guidelines for climbing the mountain, including rules for waste disposal and camping.

Emergency Preparedness

Sixth, it is important to be prepared for emergencies. This includes carrying a first aid kit, emergency communication devices, GPS devices, and knowing how to respond to common mountaineering injuries and illnesses. Plain in advance: what are you going to do if you or one of your companions suffers a debilitating injury?

Mental Preparation

Finally, summiting a major peak can be physically and mentally demanding. To prepare for this, it is important to set realistic goals, maintain a positive attitude, and be prepared to adjust your plans if necessary. If the weather changes before you summit, think safety first!

This list is not exhaustive, but it is a good place to start. What other tips would you add to the list? Comment below with your tips and let us know if you have summited the highest point in your state along with the name of the peak and the height.

Posted on Leave a comment

Product Review: the one and only Trekker Palace

The one and only Trekker Palace is the ultimate two-Person two-Layer silnylon (aka ultralight) trekking pole tent for all of your outdoor adventures. Ok, maybe not all, but it is a versatile tent. This high-end tent is designed to impress even the most seasoned outdoor enthusiasts with its outstanding features and benefits.

backpacking trekking pole tent set up near water

Key Features

One of the key features of the Trekker Palace is its full 2-Layer design, which allows you to set it up in various configurations, depending on your needs. Unlike traditional tents that come with complicated pole systems, the Trekker Palace is designed to be ultra-light, compact, and easy to set up in just 1-2 minutes. You’ll love how simple it is to use trekking poles for support, and the ability to set up each layer separately or together.

Another key feature that sets the Trekker Palace apart from other tents is its ability to be set up in three different configurations. You can set it up with the outer shell only, like a tarp tent. Or, you can set it up with the inner mesh tent only so you can stargaze or keep cool on a warm summer night. Or, you can use both layers together for a two-layer tent that provides you with unparalleled protection and comfort.

backpacking trekking pole tent outer shell set up near water

With its durable 2-layer design, the Trekker Palace offers several benefits that traditional tents simply can’t match. The outer layer provides you with an additional barrier against the elements, helping to keep you dry and warm in inclement weather. Meanwhile, the inner mesh tent provides excellent ventilation, keeping you cool and comfortable even in hot and humid conditions. And you can get it at a fraction of the price of comparable tents.

And, let’s not forget about the weight savings. At just a fraction of the weight of traditional tents, the Trekker Palace is ultra-light and easy to carry in your pack, making it the perfect choice for backpacking, hiking, and other outdoor activities when you demand the best.

Specifications

Packed Weight
3 lbs 3 oz/ 1.45 kg

Weight w/o stakes and bag
2 lbs 12 oz/ 1.25 kg

Inner Tent Weight
1 lb 8 oz/ .68 kg

Outer Shell Weight
1 lb 4 oz/ .57 kg

Packed Size
10.5 x 5.5 in

Floor Area
84 x 60 in/ 35 sq ft

Includes
8 carabiners, 8 ultra-light aluminum stakes, guylines, waterproof carry bag

Outer Shell Fabric
SilNylon

Inner Tent Fabric
No-See-Um Mesh Upper, SilNylon Floor

Wrapping it up

So, whether you’re planning a weekend camping trip or a long-distance trek through the wilderness, the Trekker Palace is the ultimate tent for your needs. Don’t settle for anything less – choose the Trekker Palace and experience the best that outdoor camping has to offer! Check out this video for a more in-depth review.

Posted on 2 Comments

River Country Products hits the Big Time

Miles and Mountains

Take a listen as River Country Products founder Ned Stratton, along with his partner Brian Anderson, discusses the origin of LifePack, the ultimate survival and adventure pack, with Nick from the Miles and Mountains Podcast.

Nick’s podcast, formerly called Miles, Mountains & Brew, is centered around endurance running, climbing mountains, and what he calls “the rodeo life”. Of course, this was a great opportunity and forum for River Country, so we grabbed it by the horns!

In this hour-long podcast, Ned discusses the purpose of LifePack, some of his experiences growing up near the Cascades of Washington State and the relationship between Life in a Pack and River Country Products. He talks about designing new tents for the pack (the soon-to-be available Trekker Pyramid and Trekker Palace), some of the challenges he faced trying to assemble the pack during Covid lockdowns, and more. It’s a fun conversation and gives some insight into Ned’s entrepreneurial mind.

Let us know if you have any additional questions in the comments below.

Posted on 1 Comment

The more the merrier: another backpack just makes sense

Mailbox Peak

The first step to finding the optimal backpack is understanding that when it comes to gearing up, there is no one-size-fits-all approach. In fact, just like anything else of importance, you’ll want to ask yourself what you want and what tool will help you achieve your purpose. Your main considerations will change depending on whether you are hiking, camping, or backpacking. And your decision will revolve around storage capacity, fit and comfort, and custom features. The reality is that you’ll want a different backpack for different occasions.

Storage capacity

If you’re hiking, either for the day or overnight, you will likely be focused on speed and comfort. You won’t need much storage space, because supplies will be limited. In this case, a backpack with a 40-60 liter capacity, weighing one to two pounds empty, will probably suit your needs.

If you’re camping in an area near parking, you may not need a pack, except to help you organize your supplies, or you might be able to get away with a 20-30 liter day pack or less.

On the other hand, if you’re backpacking or thru hiking for an extended period of time, you will probably need as much storage as possible. Thru hiking backpacks generally have the most storage capacity and may fit as much as 60-80 liters of supplies and materials and weigh two pounds or more. Our River Country Products backpack rides the line between the overnight pack and the thru hiking pack with a 65-liter storage capacity. Life in a Pack sells a 70-liter pack with additional versatility.

Fit and comfort

Any pack you carry should fit you snugly, but not too tight, and should have the straps necessary to carry the load. This even applies to the tiniest of waist packs. Although strap number, padding, and width may not be critical considerations for day hiking or camping near your car, they are very important for multi-day and thru hiking. On such hikes, your goal is to not notice the pack on your back. Hips belts and durable materials go from being optional with the smaller packs to becoming a necessity with the larger ones. Internal frames are another consideration, but the added comfort of an internal frame can be offset by limited adjustability.

Custom features

The best packs have fully adjustable straps, pockets for water bottles, and hydration bladder compatibility. They usually also have gear loops on the outside of the backpack. Most will also have either an attached or detachable rain cover. Other considerations might include a spot for a recharging station, fully waterproof construction, and optional duffel hooks.

At the end of the day, if you are going to find the optimal backpack, you’ll probably need more than one. A 65-liter pack will be very versatile for both medium and long trips, but may be more than you need if you’re a peak bagger with a short list.

Posted on Leave a comment

The magic you’ll find in River Country

Columbia Gorge

If you do an online search about the importance of rivers to human civilization, your search results will likely include the following five main reasons: fresh water, transportation, food, irrigation, and energy.  These things are important, but they are only the beginning of what the river has to offer.

The importance of the river

Although 70 percent of the earth’s fresh water is trapped in the polar ice caps, rivers account for almost 70 percent of the fresh water used by humans for drinking, cooking, and bathing.

Rivers are still used as a natural transportation route, making it easier for people to move goods and people between different regions. A quick look at a map will reveal that almost all ancient cities, and many modern cities, were built around a river. Rivers have long been important for trade and commerce, allowing people to exchange goods and ideas for millenia.

Rivers provide a source of food, not only through fishing, but as a primary source of irrigation. This has allowed for the growth of large civilizations, particularly in areas where rainfall is limited.

Generation of hydroelectric power is one of the most ubiquitous uses of the river in the West. Dams provide an extremely reliable source of energy for industrial and domestic use.

The value of the river

River Country Products is at the heart of all of these uses; our headquarters are located at the junction of several large rivers like the Columbia, Snake, Yakima, and Walla Walla.  We are located in a desert, with over 310 days of sunshine each year and 7 inches of rainfall. However, because of our rivers, we are an agriculture and energy hub of the world, growing billions of pounds of French-fry potatoes and other bumper crops each year.   We are also one of the last ports along the Columbia that can handle large barges all the way from Asia.   

Here at River Country Products, we believe that the value of the river runs deeper than the obvious, and farther than a search engine can imagine. The river brings life to the desert, but it also brings life to the soul. There’s a magic in the river that exists nowhere else. Part of this magic is found in the reality that the river exists as much for recreation and enjoyment as it does for the sustaining of civilization.

It is believed that Mark Twain captured another element of the magical river when he said, “The river has great wisdom and whispers its secrets to the hearts of men.”

What wisdom have you found in the river? What secrets have you discovered? Let us know in the comments below.