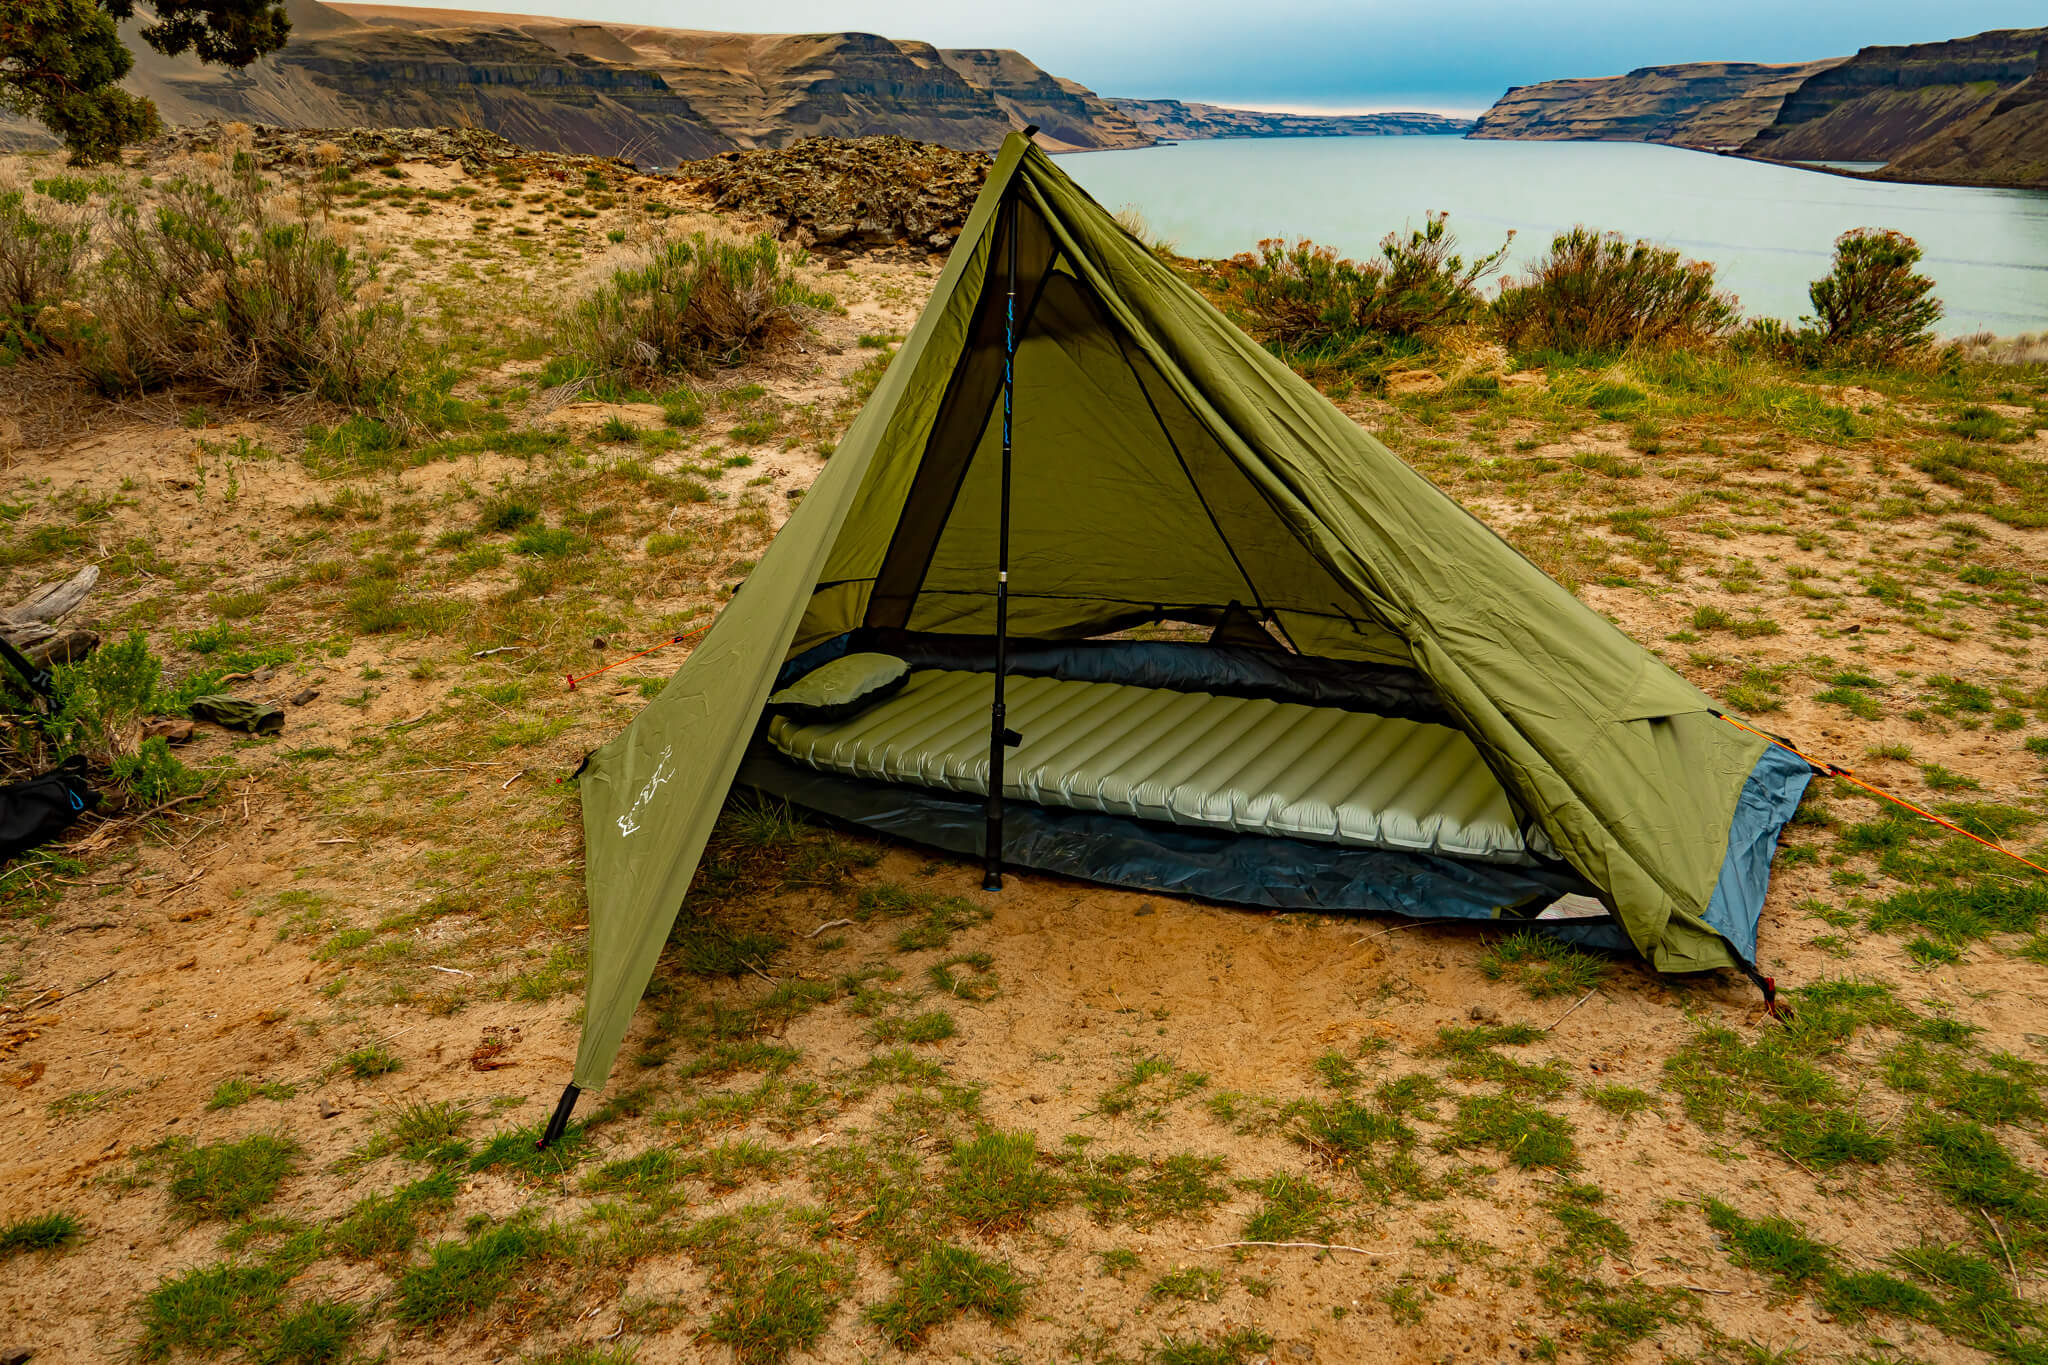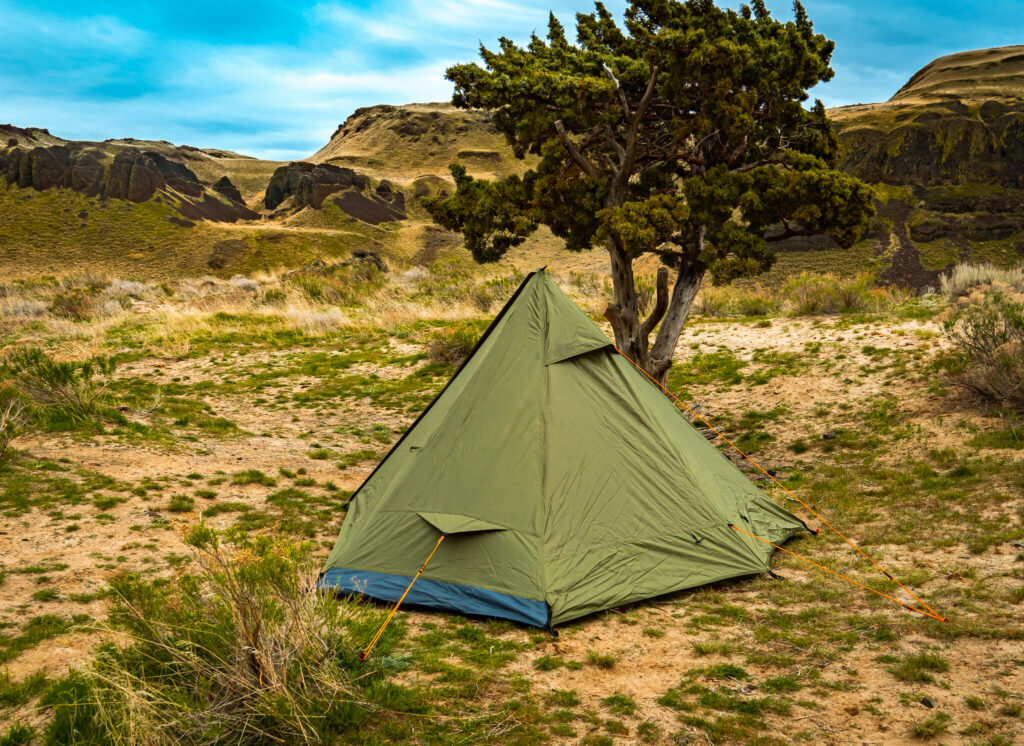
We’ve asked customers what they like about the Trekker Tent 1 and their top responses were first, how easy it is to set up and second, the fact that it has a large front vestibule.
First, it is one of the easiest in our line of trekking pole tents to set up. The single trekking pole design is the simplest design available. This means that you have the choice of hiking with only one trekking pole, and the ease of setup couldn’t be more straightforward. The quick setup time allows you time for any other activities you might have planned for the day.
Second, the large front vestibule offers plenty of room for all of your gear and a place to sit outside of the weather. This is a great alternative to the Trekker Tent 1V for those solo hikers, backpackers, and campers who don’t need additional ventilation.

Key Features
Some of the key features of the Trekker Tent 1 are that it is a single-pole trekking pole tent so it doesn’t have a complicated pole system and sets up very quickly. The tent weighs in at just 2 pounds, 13 ounces, which includes the nine tent stakes and the carry bag. When packed down, this tent is just 10″ by 5″ around. In other words, this is a light and easy-to-carry tent.
The stakes come rolled up in the center of the tent and the guy lines are already attached to the tent, so it’s ready for a quick setup. The interior of the tent is 90″ long by 38″ wide and the front door has a peak height of 48″.
It can be set up without a trekking pole if you have an overhanging branch. There’s a peak guy line loop and you can use your own guy line to attach to an overhanging branch and set up the tent without any trekking poles at all.
All seams are taped and the fabric is a PU-coated waterproof polyester and the floor is made out of a heavy duty waterproof Oxford taffeta fabric which is thick enough that you won’t need an additional ground cloth. Inside the tent you’ll find a loop for hanging your gear or your flashlight and a personal items pocket and plenty of room for you and your gear.
Easy Setup
First, find a flat area and lay the tent out in the direction you want it to go. Like all trekking pole tents, start by staking down the four corners of the tent and make sure that the tent isn’t lopsided to one side or the other. Click this link if you prefer to watch a video.
After you stake down the four corners of the tent, you’re ready to insert the trekking pole. Insert the trekking pole with the handle facing up or with the rubber tip facing up. Do not insert the trekking pole with the carbide tip facing up as that will rip the tent.
Adjust the trekking pole to the desired height and pull out the front vestibule. It’s best to have the front vestibule zipped up when staking out the front. After you’ve staked out the front vestibule, now you can stake out the rear guy line and the side guy lines. The back ceiling vent stakes out to the same guy line as the rear guy line.
Tips and tricks
This tent is unique because it can be set up without a trekking pole by setting it up under an overhanging branch and using a guy line or paracord to tie the peak loop of the tent to the overhanging branch.
When setting it up using this method, make sure that you stake down the four corners first. No peak guy line is included with this tent, so you’ll need to use your own paracord or guy line.
If you find that the rear corners of this tent are dipping or sagging in, there’s two common causes of this. One is sloped ground, which can cause the back corners to sag. Finding a flat area can solve this problem. Or, if you pull the rear corners too tight, it can cause the same problem. The best remedy is to move the rear corner stakes about two inches toward the center and then lengthen the trekking pole and tighten the front vestibule stake.
Be careful with the carbide tip and don’t put the carbide tip pointed up in this tent or it will rip right through this tent fabric.
Like all of our trekking pole tents, this tent is easy to take down. Just remove the stakes, put the guy lines and the rain fly onto the bottom portion of the tent. Fold the tent in onto itself so that just the floor fabric is showing and keep holding until what you have left is just a little wider than the tent stake bag. Roll the tent up around the stake bag and if you can find it, use the tie that came with the tent to tie around the tent. After that, it should easily fit back into the bag that it came in.
And that’s everything you need to know about the Trekker Tent 1, a lightweight, small-pack-size tent perfect for your next outdoor adventure. If you are having any problems with the setup of this tent, please don’t hesitate to contact us. We’re always happy to help.

Hello I just used your trekker tent 1, good design great price, but I have to give it a 2 1/2 star because there’s not enough room I’m 5’10 and with a light blow up pad there is not enough room you get condensation on your head and feet. A way you could solve this is the pull out tabs at the head and the foot you could bring lower a long with the seam or some way allow more material there. The common thread with all TP tents is not enough room on the lower part unless the few that use a straight wall then start with the angle of a teepee.
Hi
I recived my pole tent today and it meets my needs perfekt
1. Price level is just perfekt
2. It’s verylight weight
3. Easy to setup
4 Rain proof 100%
5. good ventilation
6. Protects me from mosquito
7. Capacity for me my dog and backpacking
Many thank’s
The tent is highly recomended
Erik Sjunneskog from Sweden😁