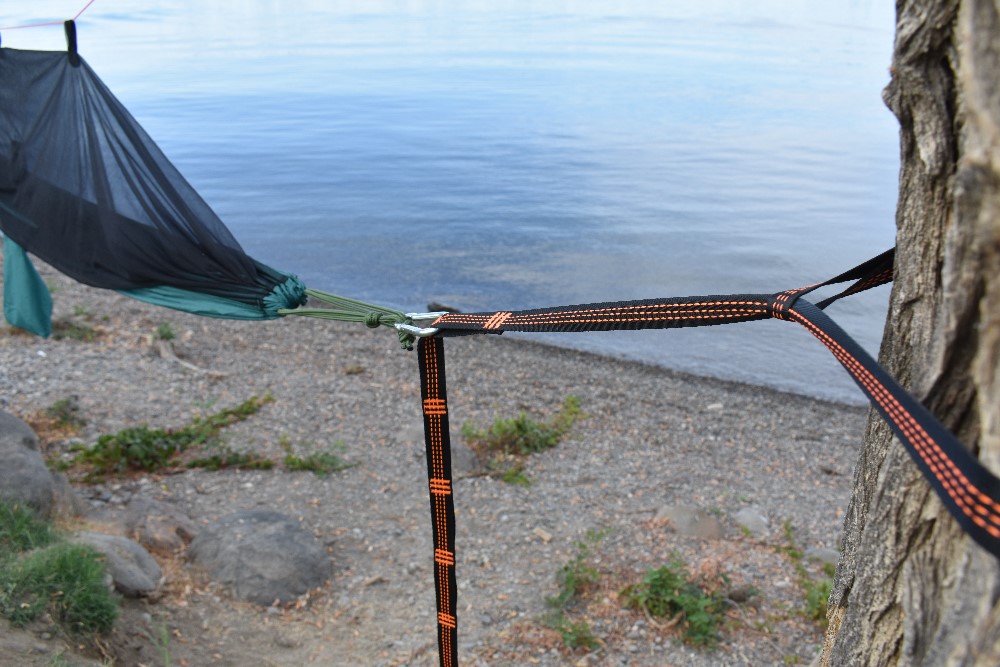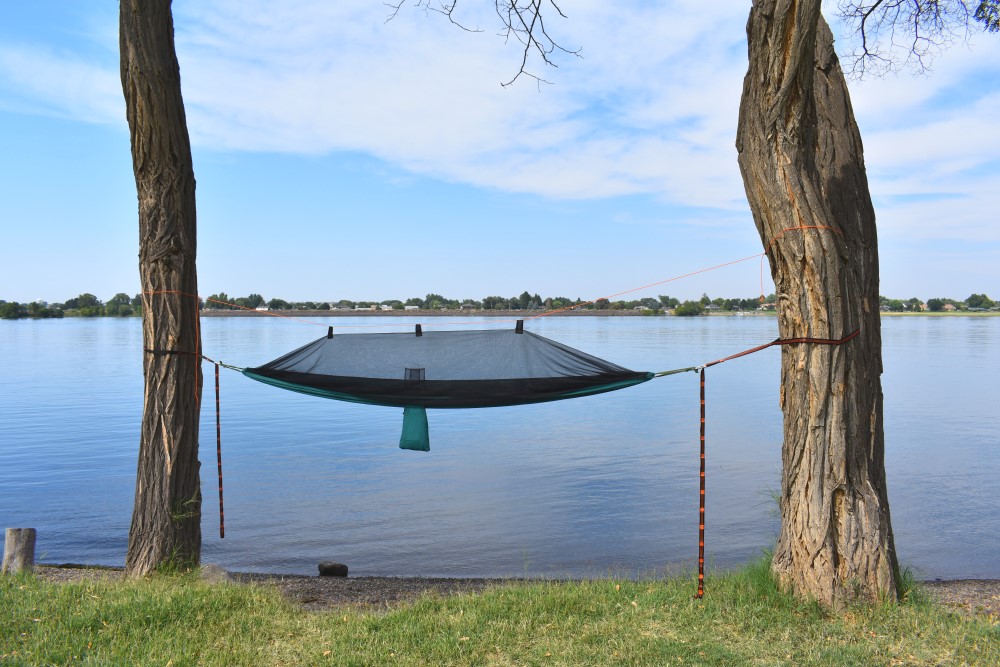
While Hammocks aren’t for everyone, here are Our Top Four Reasons to use a River Country Products Hammock on your next backpacking trip:
Hammocks can make it easier to fall asleep
Researchers have found that the rocking motion of hammocks allows people to fall asleep much faster, which can be nice after a long day on the trail. It can even help people with insomnia and other sleeping disorders.
Hammocks provide deeper sleep
A sleep study found rocking while sleeping allows people to sleep better in a noisy environment. A benefit whether you’re camping with loud friends or can hear the constant sounds of nature.
Hammocks are more comfortable
Many people report hammocks to be more comfortable and better for their backs and hips. Comfort while sleeping is the number one reason people give for avoiding camping or backpacking, so switching to a hammock might just provide that much-needed comfort.
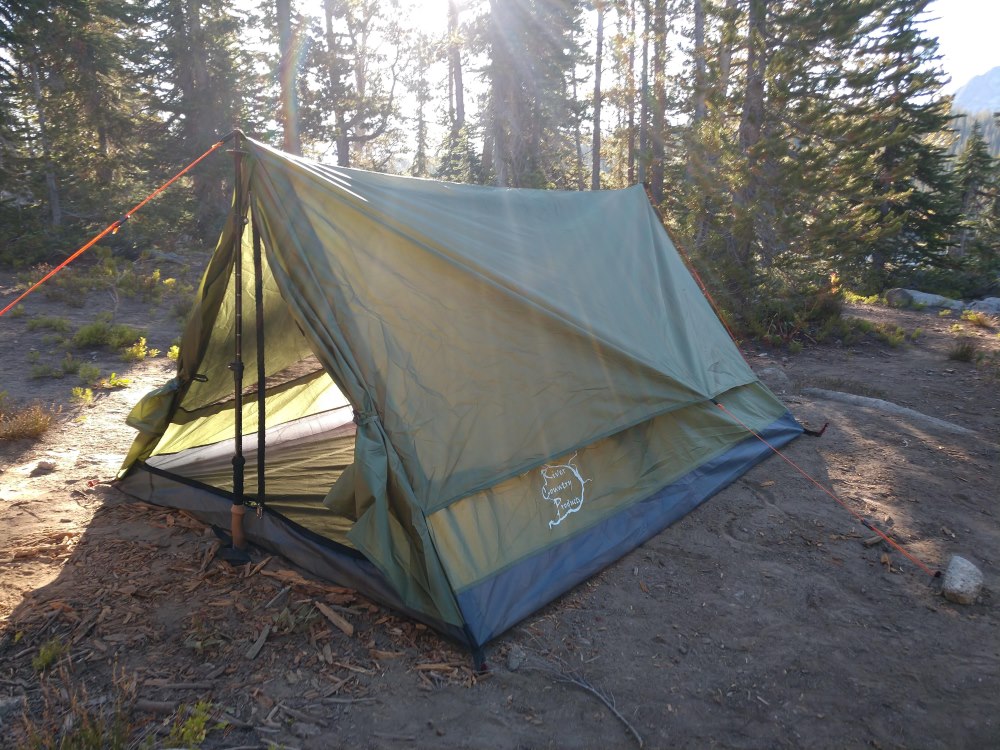
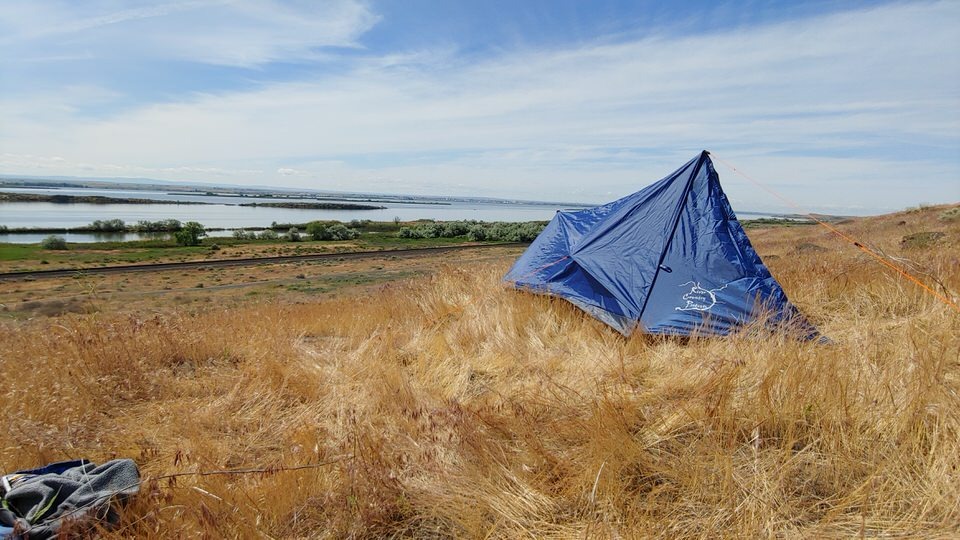
Hammocks allow you to set up camp faster and in places less accessible to tents
Sometimes you just don’t want to hunt for a nice, flat spot to pitch a tent, if in a wooded area Hammock spots can be easy to locate and Hammocks are often much faster to set up then pitching a tent.
Bonus: RCP’s Hammocks include a rain fly and cost only $38.95, one of the cheapest and lightest sleeping options available.